The Wanderer painting is one of those images you recognise before you can name it: a man on a rock, seen from behind, looking out over a landscape that dissolves into fog. It is Caspar David Friedrich's Wanderer above the Sea of Fog. We do not sell a kit of it, and we will not pretend otherwise. What we can do is look at why it works and show you how to paint a misty mountain of your own.
Quick picks
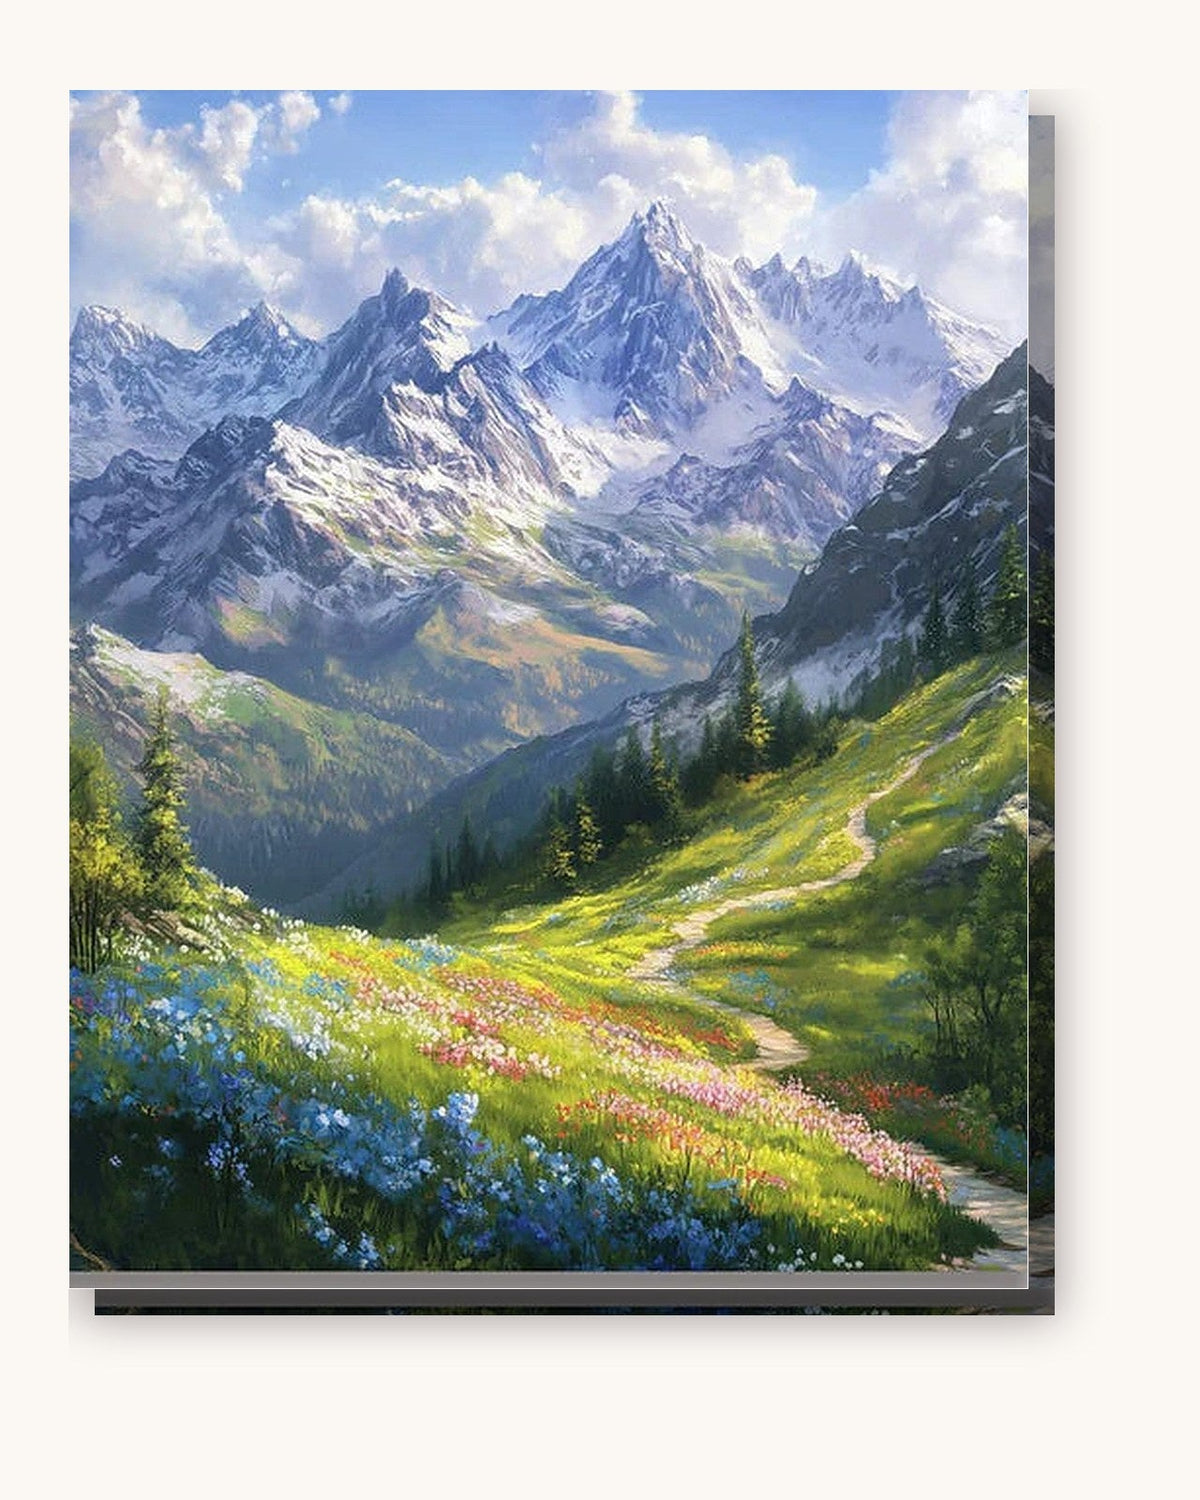
- Mountains with a hazy path: Alpine Journey.
- Fog between trees: Misty Forest.
- Light on a lake: Alpine Lake Sunrise.
- Your own hike, your own peak: custom kit from your photo.
The Wanderer painting: what Friedrich made
Wanderer above the Sea of Fog (Der Wanderer über dem Nebelmeer in German) dates from about 1817 to 1818. It is oil on canvas, 98.4 x 74.8 cm, and it hangs in the Hamburger Kunsthalle. Friedrich belongs to German Romanticism, a movement that cared less about accurate scenery than about what a landscape makes a person feel.
Why a figure seen from behind works
Art historians have a word for the man on the rock: Rückenfigur, a figure turned away from us. We cannot see his face, so we borrow his view. We stand where he stands, and the fog, the peaks and the far light become ours to look at.
The other idea in the picture is the sublime: nature so large and so uncertain that it is beautiful and a little frightening at once. Fog is the tool for that. It hides the distance, so the eye has to guess.
How to paint a misty mountain scene yourself
Mist is mostly a problem of order. A few rules, in the sequence you would follow on a numbered canvas.
- Build planes. Treat the scene as stacked layers: a dark foreground, a middle ridge, then one or two ridges behind it. Finish one plane before you start the next.
- Lighten toward the back. Each layer further away should be paler and slightly cooler than the one in front. This single habit creates depth, more than any detail does.
- Soften the edges far away. Close shapes stay crisp. Distant ones can lose their outline where the colour meets the sky.
- Glaze the fog. Once an area is dry, a very thin wash of white or pale grey, thinned with a little water, drifts over the lower slopes. Stop and look often: you can add more fog, you cannot take it back.
On a kit, the numbers already give you the planes. Your part is patience between layers and a clean brush between colours. Our guide to blending colours covers the technique in more detail.
Kits that come close to the mood
None of these is a copy of Friedrich. They share the subject: mountains, haze, and a sense of distance. We describe them only from their titles and tags.
- Alpine Journey is tagged advanced, with alpine, mountains and landscape.
- Misty Forest is intermediate, built around mist and woodland.
- Alpine Lake Sunrise pairs mountains with a lake and a sunrise.
- Mountain and Sea and Coastal Mountains put peaks next to the ocean.
- Misty Autumnal Peace brings in autumn, a river and a cabin.
- Stag in the Misty Highlands and Highland Cow on the Misty Hillside add an animal to the highlands.
More views are in the landscapes collection, and our landscape kit guide compares them by subject.
Paint your own hike
If you have a photo of a ridge you climbed, a custom kit from your photo turns it into the canvas. Mist photographs well when there are clear layers of hills, so pick a shot with at least three. We ask for at least 1500 px on the short side, and 2500 px for the 50 x 65 cm size.
Size and time
Choose 40 x 50 cm with 36 colours for a misty scene: enough room for soft transitions, not too many evenings. A 30 x 30 cm canvas with 24 colours is a quicker first try, and 50 x 65 cm with 48 colours suits a wide panorama. The canvas ships unframed, and you assemble the frame yourself. For other famous works you can paint, browse the famous paintings collection.