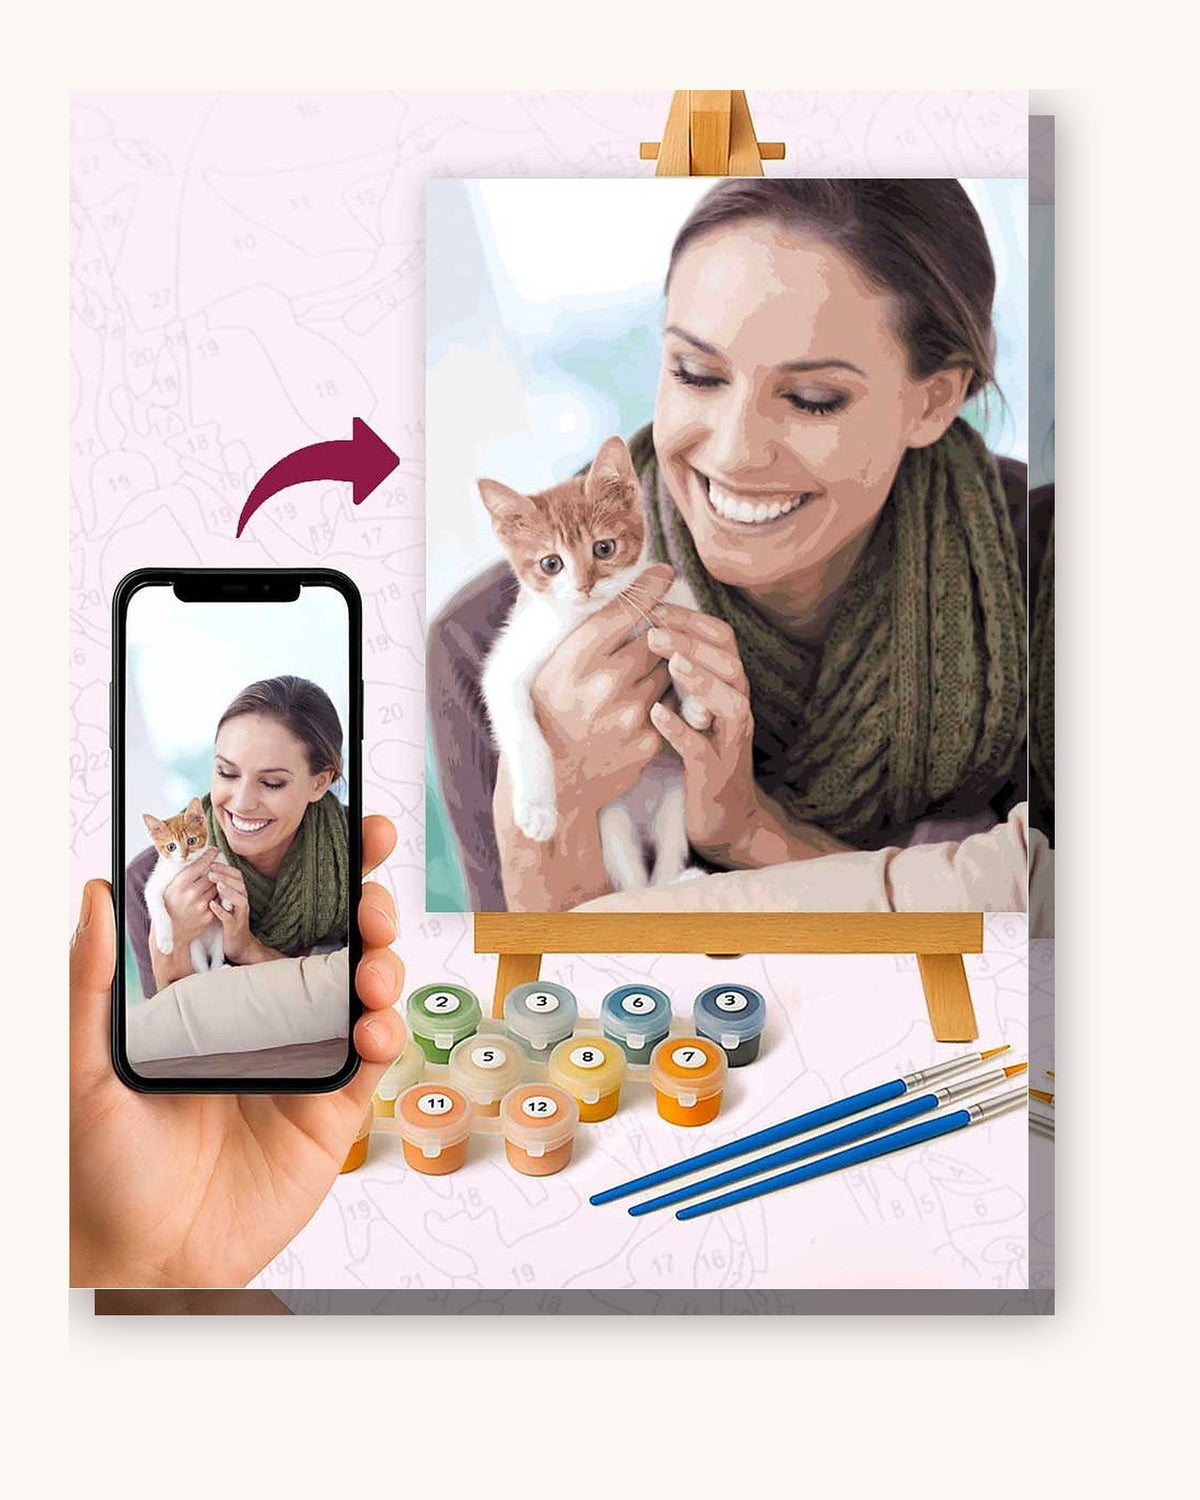
A custom wedding bouquet painting starts with a photograph in which the flowers hold their shape. Choose the picture where you can distinguish the petal edges, then decide whether the stems and ribbon belong in the painting. A lovely photograph of the whole wedding may give the bouquet too little space to work as its own subject.
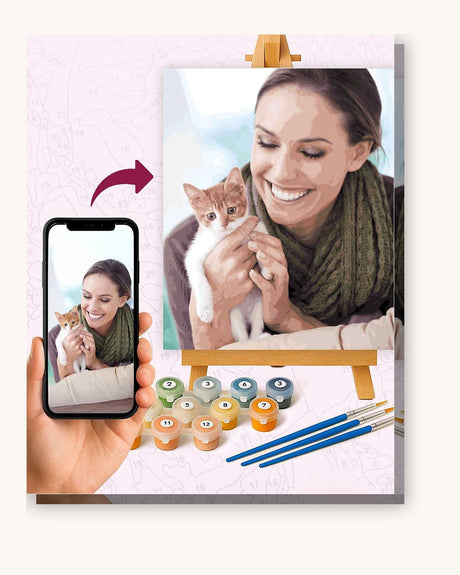
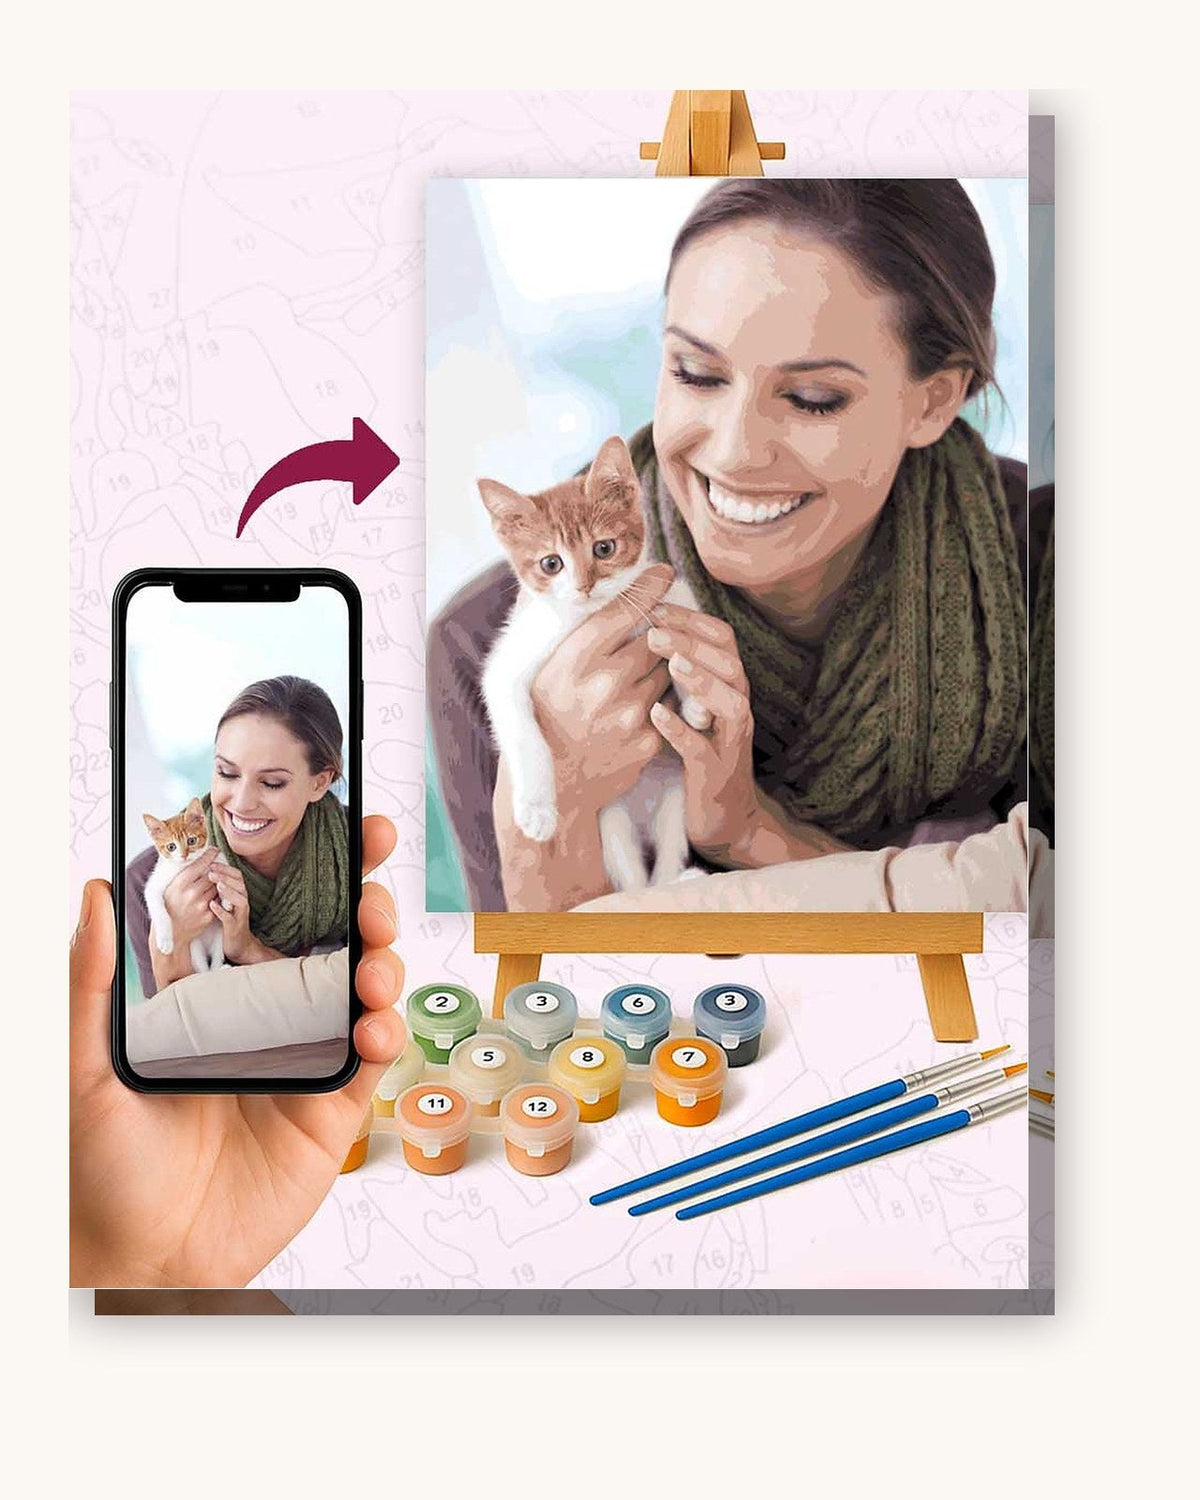
This makes a keepsake of the bouquet's appearance. The kit uses your image to create a numbered canvas; it does not preserve the physical flowers. You can make the choice long after the wedding, using the photographs you already have.
Before you choose: compare a full-bouquet crop with a flower close-up. Keep whichever one retains the part you would miss most: the whole arrangement, a particular bloom or the ribbon around the stems.
Find the bouquet photograph, not just the wedding photograph
Start with detail shots from the wedding gallery. A bouquet resting on a table or photographed on its own may offer a clearer composition than one held at waist height in a full-length portrait. That is a starting point, not a requirement. A hand-held bouquet can work well when the flowers remain large and distinct.
Ask yourself what identifies this arrangement. It might be its loose outline, a trailing ribbon, an unusual dark bloom among pale flowers or the greenery that falls below the stems. Look for the photograph that shows that feature clearly. A front-on view can describe the flower heads, while an angled view may show more of the wrapping and stems.
If a photographer supplied the image, check that your permission covers making a personal artwork from it. Ask for the original digital file when available. A screenshot of the gallery or a copy sent through a messaging app gives you less to work with than the original.
Check pale petals against the dress or background
White flowers against a white dress deserve a closer look. The useful question is whether you can follow the outside of the bouquet without guessing where the petals end and the fabric begins.
View the photograph at a normal viewing size, then enlarge the flower area. Look for shadows between petals and a visible difference between the outer flowers and what sits behind them. If the brightest areas have become a blank patch, choosing more paint colors cannot reveal detail that the photograph does not contain.
Compare another photograph before trying to repair that one. A frame with a darker wall, green leaves or the side of a table behind the flowers may separate the outline more clearly. Avoid selecting an image simply because it has the brightest whites. Subtle cream and gray shadows can be what makes a pale bouquet readable.
Our custom-photo guide covers the file and lighting checks. For a bouquet, spend particular attention on the boundary between the lightest flowers and their background.
Make two crops before choosing a canvas
Save copies of your photograph and try the following compositions. Keep the original untouched.
| Composition | What to keep inside the crop | What to check |
|---|---|---|
| Full bouquet | Outer flower heads, trailing foliage, stems and any meaningful ribbon | Whether enough space remains for the bouquet itself after including the lower details |
| Flower close-up | The blooms or flower center you want to paint | Whether trimming the outer flowers still looks deliberate and retains the bouquet's character |
| Bouquet with hands | The arrangement and enough of the hands to make their position clear | Whether fingers, ribbon and petal edges overlap in a confusing area |
A close crop can be a considered choice. Cutting a trailing ribbon in half by accident is different. If the ribbon matters, give it room before selecting the canvas shape. The same applies to a small charm or brooch: if it occupies only a tiny part of the photo, do not expect a readable inscription in the finished painting.
Try a square and a rectangle. A rounded bouquet may sit comfortably in a square, while long stems may benefit from a taller composition. Check the actual proportions of the size you select; the rectangular options do not all share exactly the same shape. The canvas-size guide explains the available formats.
Choose size and colors after the crop
Judge the file you will upload, including the crop. The current custom-kit page recommends aiming for at least 1,500 pixels on the shorter side after cropping, and 2,500 for the larger 50 × 65 cm and 60 × 60 cm formats. These are photo-selection recommendations, not a guarantee that a file with those dimensions contains clear petal detail.
The available palettes are 24, 36 and 48 colors. A bouquet with close shades of ivory, blush and gray presents a different choice from bold red flowers against dark green leaves. Consider how much tonal variation matters to your image. The color count alone cannot tell you how small the printed regions will be or how long the painting will take.
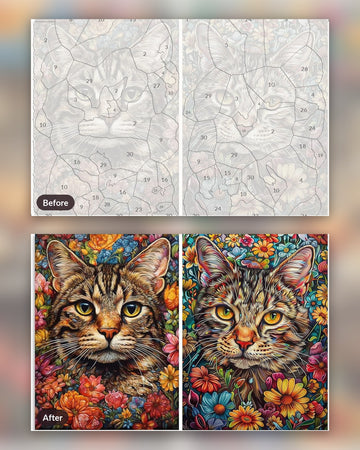
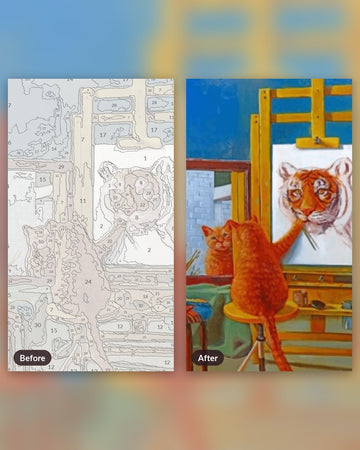
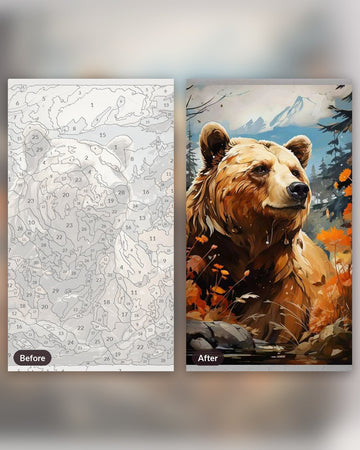
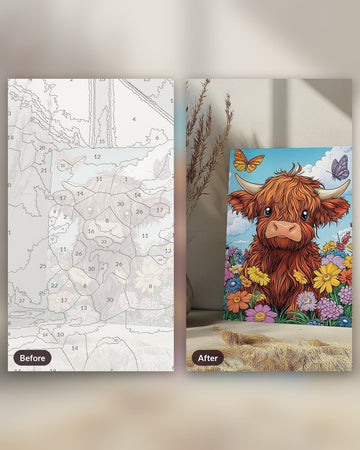
The image becomes a set of painted shapes, so expect an interpretation of the photograph. Fine lace, individual stamens and tiny ribbon lettering may simplify. Choose the composition for the larger forms that carry the memory.
No suitable photo? Choose a floral still life
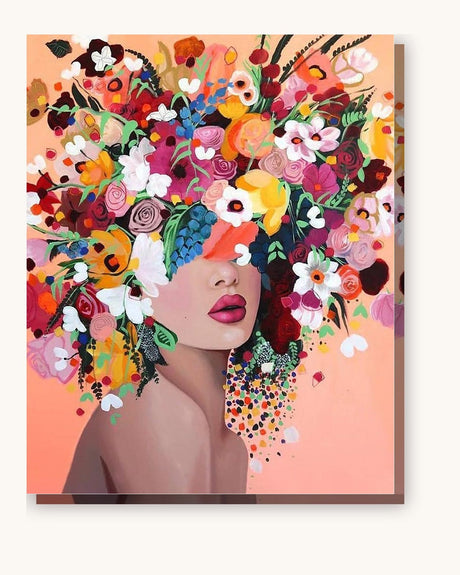
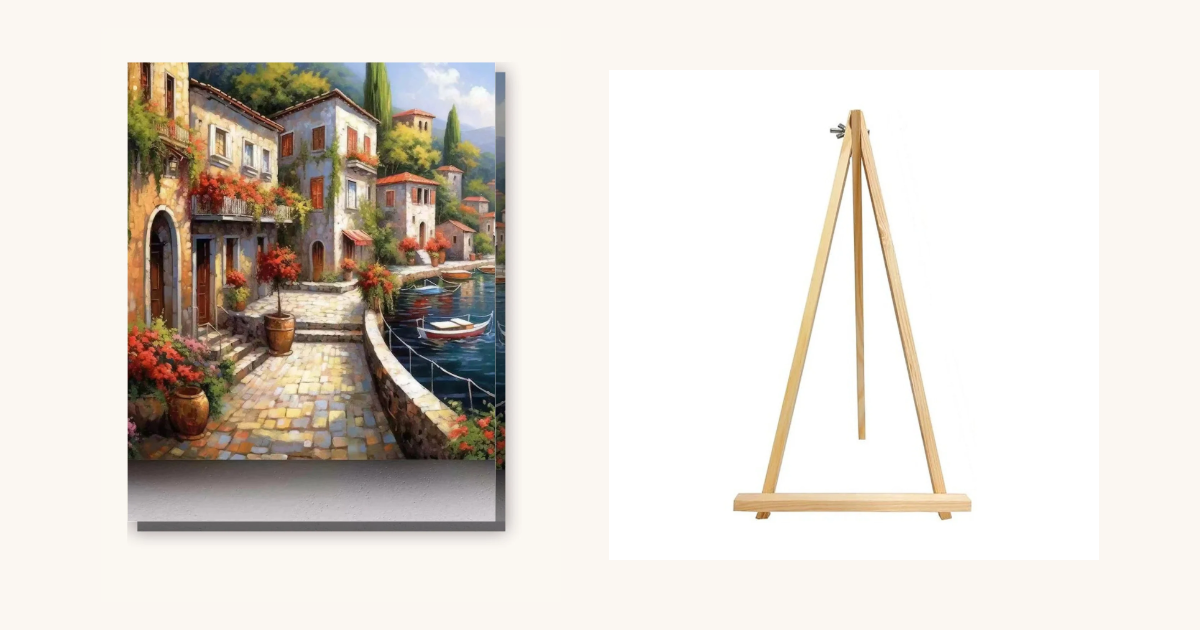
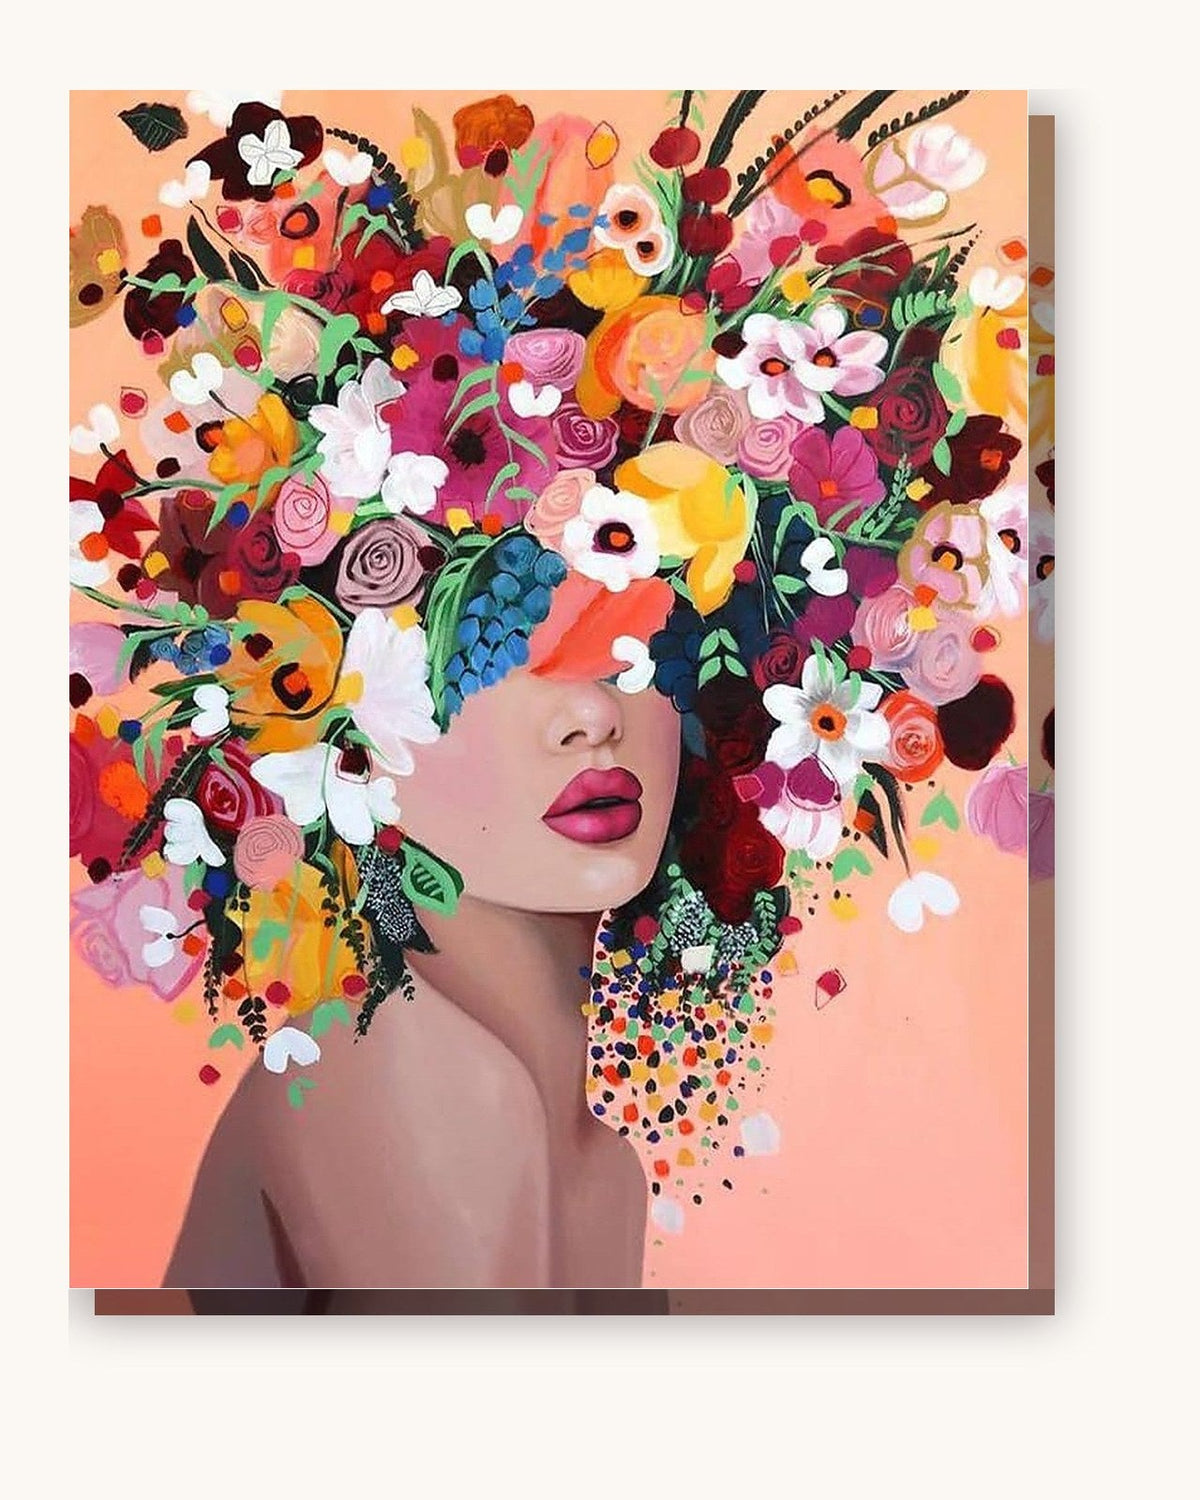
If every photograph leaves the bouquet blurred, tiny or hidden, a ready-made floral painting offers another way to paint flowers you like. It will be an existing design, rather than a recreation of your wedding arrangement.

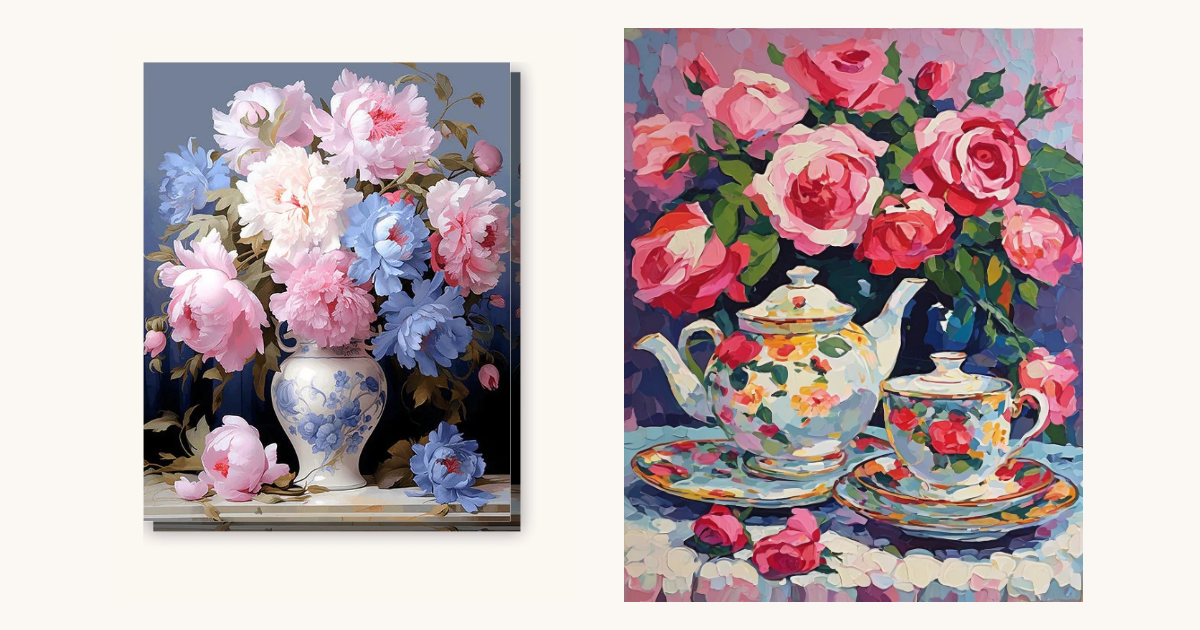
Opulent Bouquet places pink and blue blooms above a pale patterned vase. Dark areas behind the flowers help separate the pale petals. The vase and the fallen flowers on the tabletop also form part of the subject, so choose it if those still-life details appeal to you.

Rose Bouquet and Floral Teapot Set combines pink roses with decorated crockery. There is more to paint here than flower heads: floral motifs continue across the teapot, cup and saucers. Compare that whole scene with the vase arrangement before choosing.
Upload the file with the composition settled
When the bouquet remains clear in your chosen crop, open the custom paint by numbers kit and select the size, palette and frame option. Canvas only and a DIY Frame Kit are separate choices; the DIY option contains bars you assemble yourself.
The photo check is automatic. If you use the preview, treat it as an approximate indication: colors and outlines can change for printing. It is not a proof sent for your approval, and passing the file check does not replace your own check of petal detail and framing.
Keep the uploaded file and your crop together. When you open the kit, you will have the photograph you chose and a clear reason for choosing it: the ribbon stayed intact, the pale flowers stood apart from the background, or the bloom at the center was the one you wanted to remember.