For left-handed paint by numbers, arrange the table around the route your hand takes. If you begin on the left and move right, your hand may pass over areas you have just painted. Starting toward the right can help, provided it suits the way you hold and move the brush.
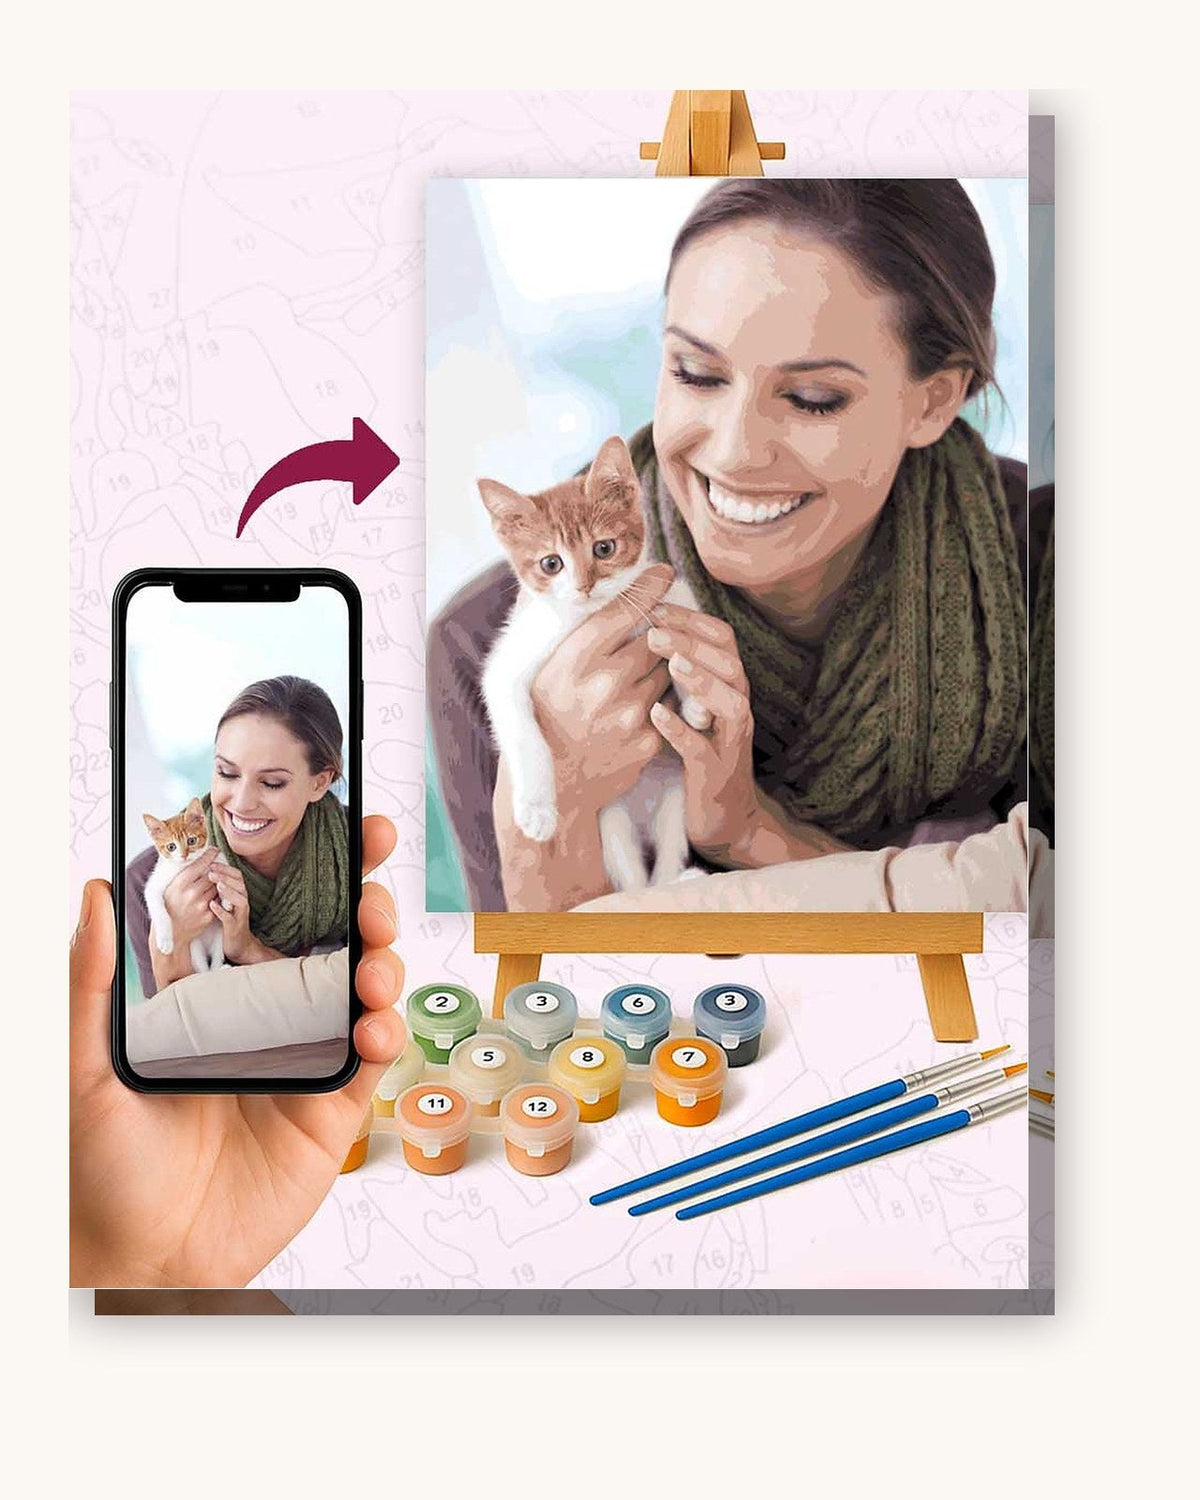
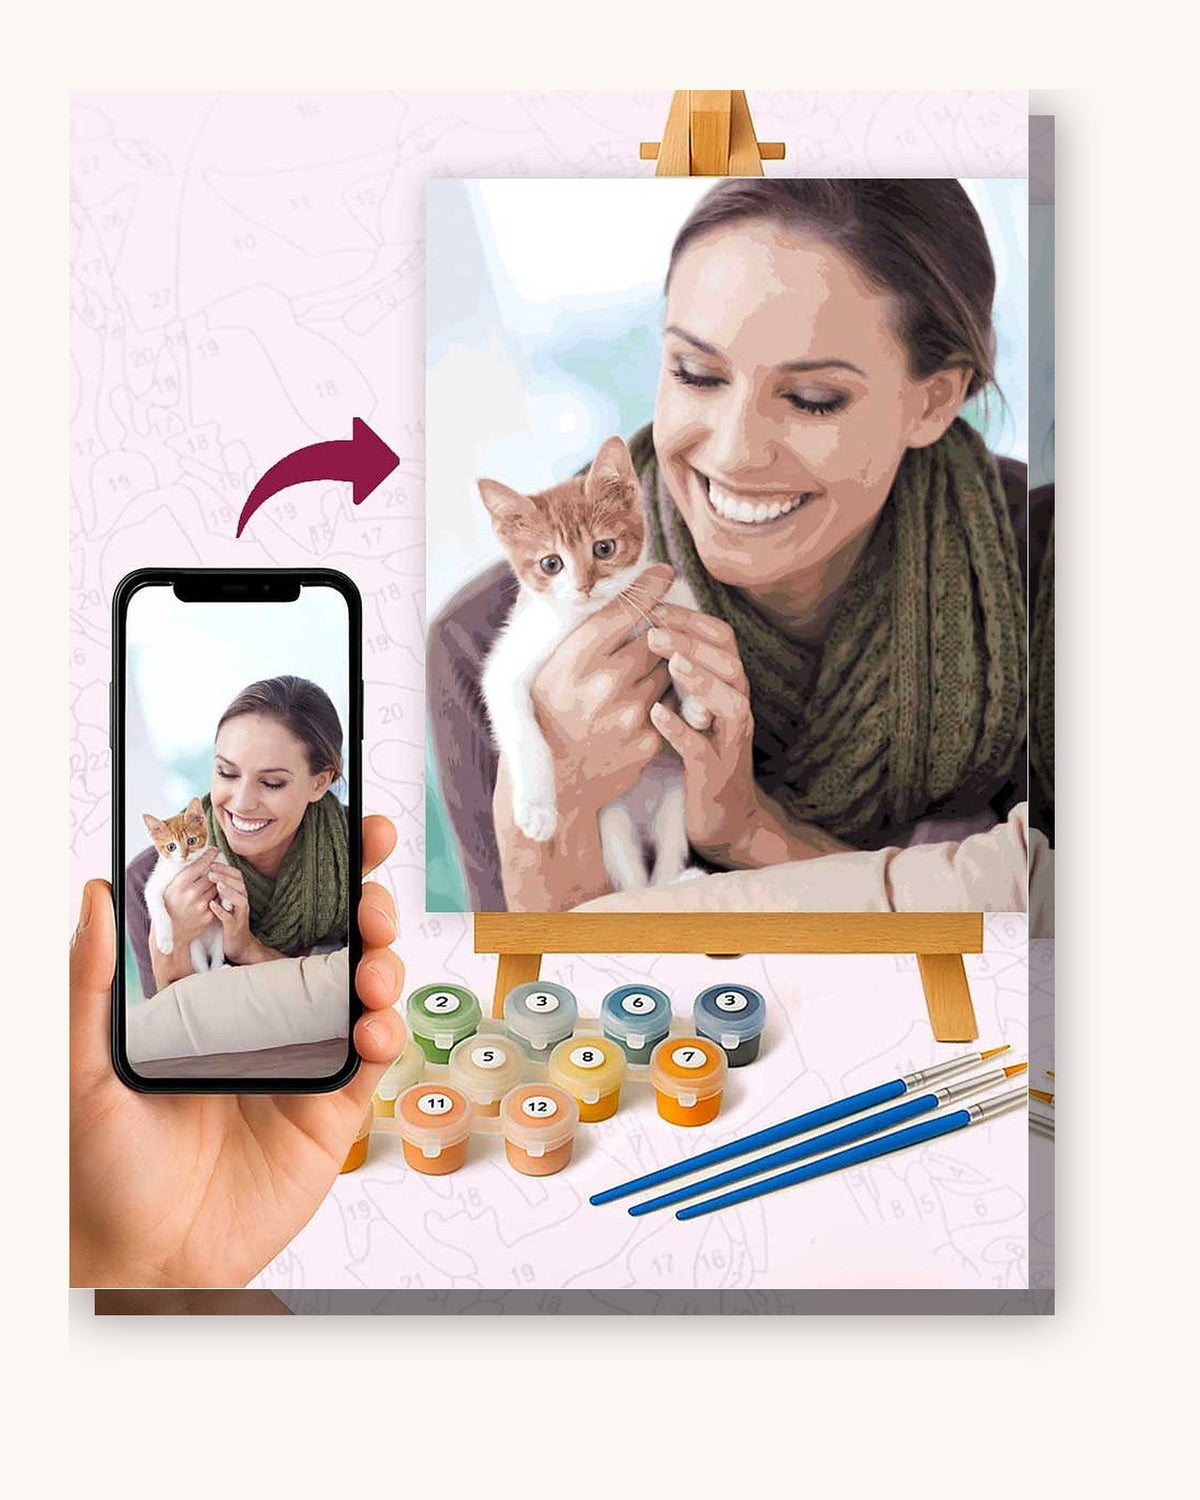
You do not need a different numbered picture. The canvas tells you which color belongs in each area; it does not dictate which hand holds the brush. The useful adjustments are where you begin, where you put the water and how you light the surface.
Try this before opening a pot Hold a dry brush over several parts of the canvas. Follow the movement from pot to picture to water. Move anything that makes your hand cross the painting or hides the numbers in shadow.
Find a direction that leaves room for your hand
Try starting near the upper right of the canvas and working across a manageable area toward the left. That can keep completed areas away from the side where your hand approaches. It is a starting method to test, not a rule for every left-handed painter.
Your grip and the angle of the brush matter. If you hold your hand above the working area, rather than below it, a different route may work better. Watch where your little finger, wrist and sleeve pass when you reach for a distant section.
You also do not have to finish every occurrence of one number across the whole canvas in a single session. That method can be convenient for organizing colors, but it may send your hand back over fresh paint. Finish the safely reachable areas, close the pot, and return to the others when you have clear access.
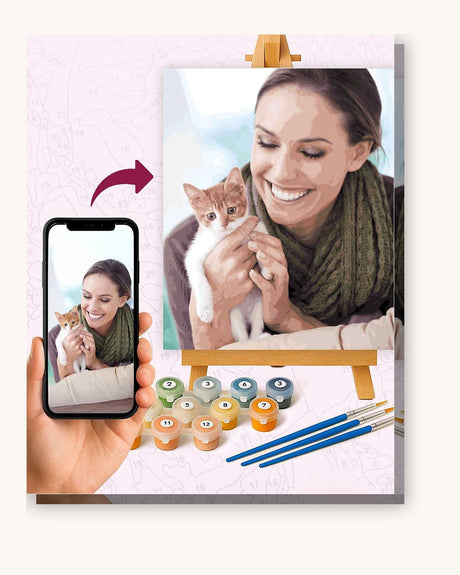
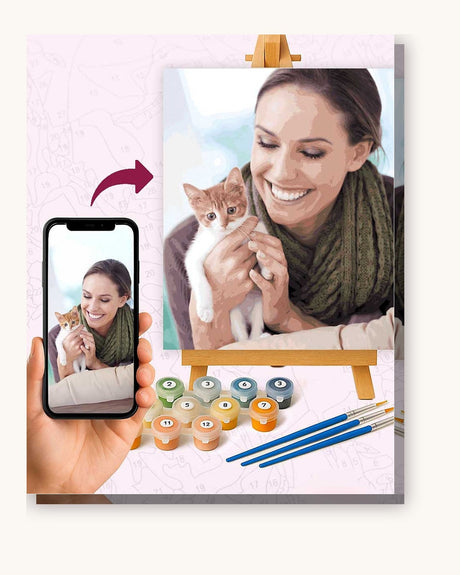
Leave the reference where you can see it without leaning across the canvas. If this is your first kit, the beginner's guide explains the basic number-to-color process. Adapt the working direction to your hand rather than treating a general paint-order suggestion as compulsory.
Move the light until the shadow moves away
Put your hand in the position you actually use for painting, with the brush tip over a small number. Then adjust the lamp. A light on your right may be a useful starting point for a left-handed setup, but the test is whether your own hand casts a shadow over the section you need to see.
Daylight can change as you paint. If a window lights the table well at the start and poorly later, move the lamp or reposition the work. There is no benefit in keeping the arrangement symmetrical if the numbers disappear behind your hand's shadow.
Avoid a reflection that hides the wet edge of the paint. Change the light angle or canvas position until you can distinguish the printed boundaries and the surface you are working on. Use the actual view from your chair to judge it.
Give the active pot its own place
Try placing the open paint pot on the left, close enough to load the brush without sweeping your arm across the picture. Put the water somewhere you can reach without stretching, with a clear space around it. A crowded position beside your elbow may be worse than a slightly longer reach.
Keep only the working pot open and put its lid where you will not lose it. Leave room to set down the brush and blot excess water without balancing either item on the canvas.
Do a dry rehearsal of loading, painting and rinsing before you begin. If you keep turning your body to reach something, rearrange the table. For two people sharing a surface, give each person a route to their own water and pots rather than placing everything in the middle.
Turn the canvas when it helps
An unmounted canvas on a suitable support can be repositioned so you reach a detail from a clearer side. Secure it before painting, and keep the reference oriented so you know which part of the image you are looking at.
Turn the work upright again if a number becomes ambiguous. Do not decide between a 6 and a 9 from an upside-down glance, or choose a pot from memory because it appears close enough.

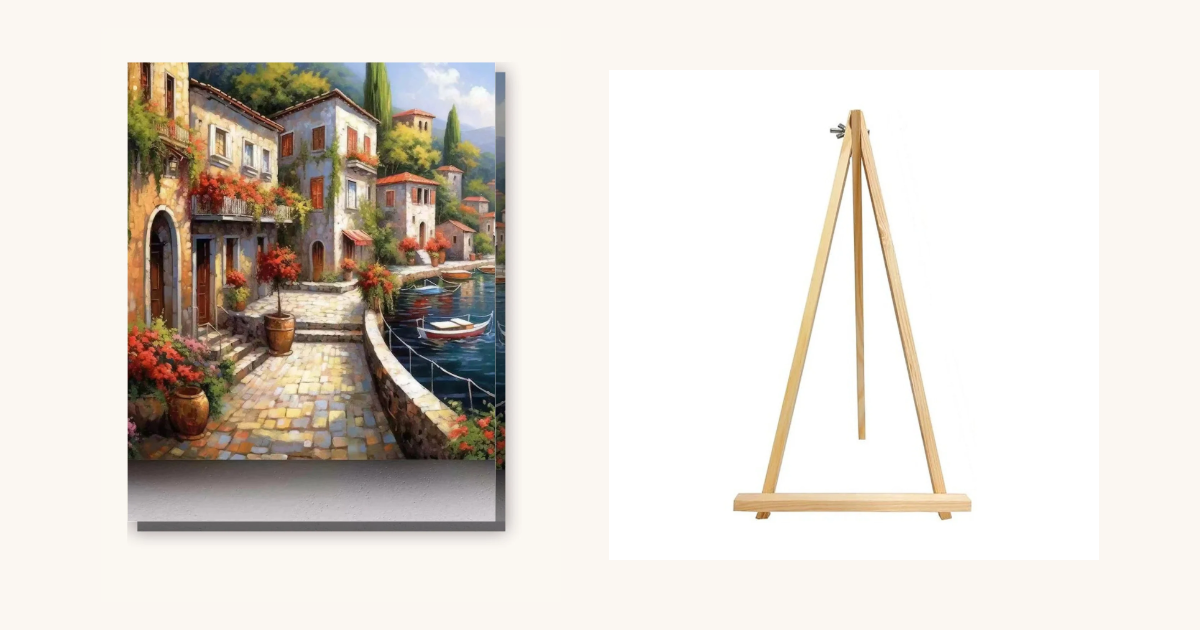
The A Quiet Walk kit is one example of a regular design you can work on this way. Its finished catalog artwork does not establish the size of the numbered areas or a particular difficulty level.
For small sections, use a brush tip that fits the space and return to a clean, dry area to steady your hand. The brush guide describes the roles of fine and wider brushes. Buying extra brushes is optional; first check what the kit already contains.
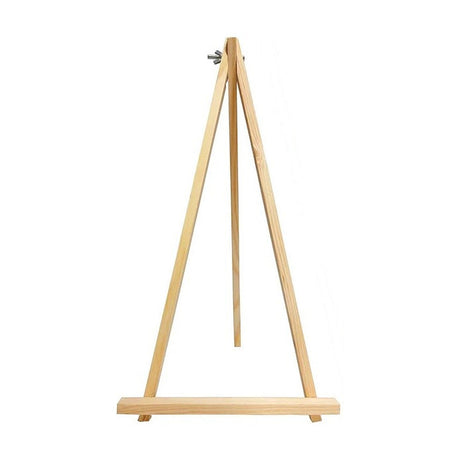
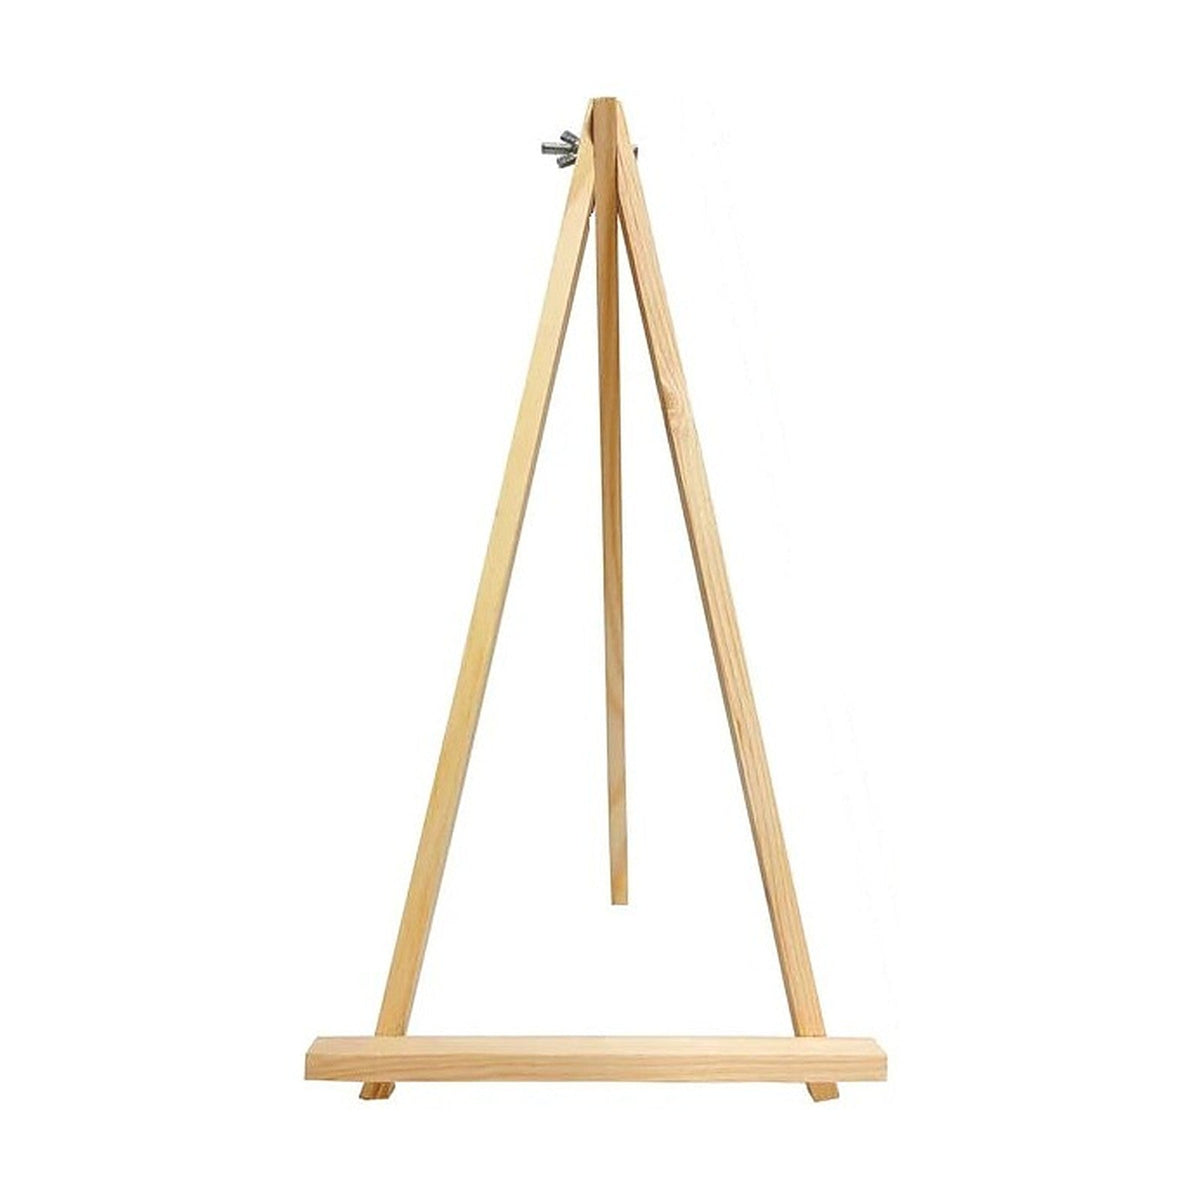
An easel is optional, and its support matters
A tilted setup may suit the way you work, but check the support before moving a loose canvas onto an easel. If you use a rigid board behind an unmounted canvas, measure the board as well as the fabric and make sure the whole arrangement is stable.
The Pine Tabletop Easel has a 30 cm ledge. Its current product description says a 30 × 40 cm canvas sits on it, while a 40 × 50 cm canvas overhangs. Do not assume it supports every format from edge to edge. A stable flat table remains a usable starting setup.

Let the paint dry before your hand passes over it
Do not use one fixed waiting time for every area. Paint thickness and room conditions affect drying. Golden's technical notes on acrylic drying distinguish the initial touch-dry surface from the longer process of drying through the whole paint film.
Keep your hand and sleeve clear of fresh paint rather than testing it by touch. If your next section is behind a wet area, turn the supported canvas, choose an accessible section or take a break. Do not lay paper over painted areas as a hand rest: Golden also warns that packing materials can stick to acrylic surfaces.
At the end of the session, leave a short note about the color you were using and where you stopped. When you return, you can choose the next clear route across the canvas without repeating the whole setup exercise.