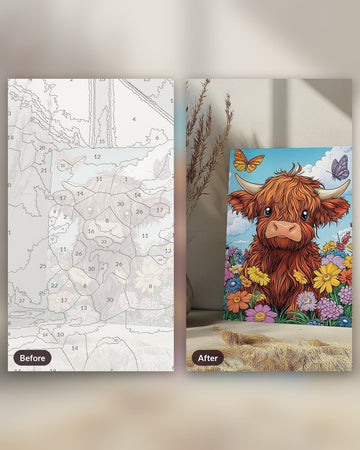
Before you put a brush back on an unfinished canvas, check that you have the right paints, that they still work, and that you can identify the next unpainted area. The length of the break alone does not tell you whether the project is ready to continue.
An afternoon spent sorting the box can be a useful first session. You might discover that everything is usable, that one missing color needs attention, or that the canvas needs a closer look before more paint goes on. Each result gives you a clear next step.
Put the kit back together before opening the pots
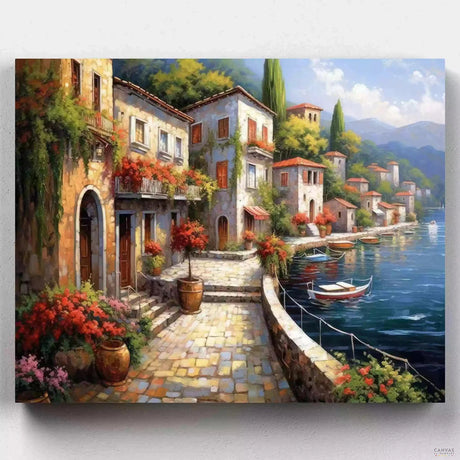
Lay out the canvas, original paint pots, packaging and reference image. Find the design name and any order details you still have. A photograph from when you first opened the kit can help reconnect a loose row of pots with its canvas.
Keep other projects away while you sort. A number on a pot is only useful when you know which kit it belongs to; the same printed number on another kit is not enough to establish a color match.
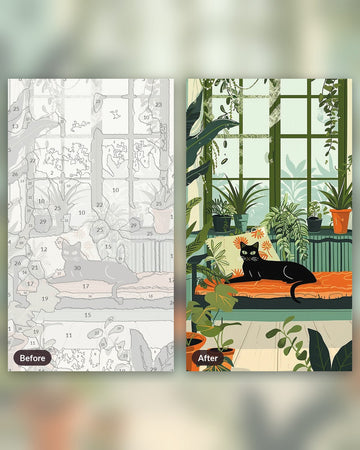
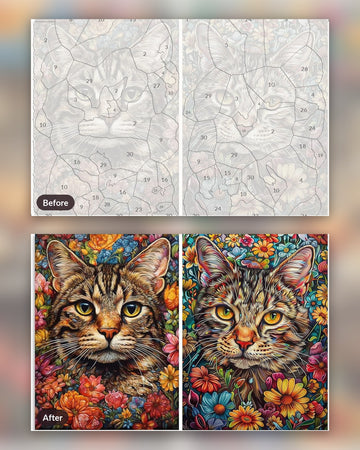
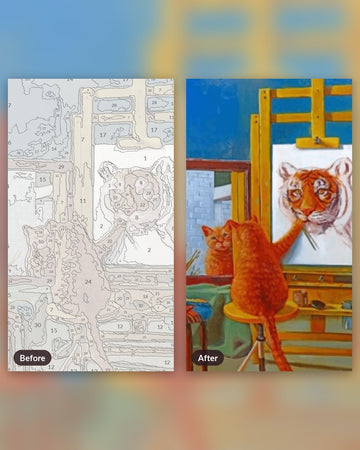
Retain original labels. If you make a new note on a bag or tray, add the design name rather than replacing the pot numbers. Our guide to reading a numbered canvas explains the relationship between the printed regions and their paint labels.
Missing the reference? Look up the exact design or your order record. A finished product image can help you recognize the scene, but it cannot reliably recover a painted-over number or identify an unlabelled shade.
Check the canvas before trying to improve it

Place your canvas on a clean, firm support in good light. Look at the painted and unpainted parts separately. Are the remaining numbers legible? Is there a crease across the area you want to tackle? Does the existing paint look stable, or is a patch lifting or still tacky?
A long pause does not by itself mean that sound acrylic work needs removing. GOLDEN's drying notes explain that acrylic can accept further acrylic layers even after years. That is general material guidance, not a guarantee about the condition of your stored kit. Inspect the surface you actually have.
If paint is lifting, material is stuck to it, or the support is badly distorted, photograph the problem before treating it. Leave that patch alone while you establish what happened. Washing the whole canvas or scraping an edge is a poor first diagnostic step: you may lose the outlines you need to continue.
For an intact canvas, you can usually resume an untouched numbered area without repainting the work you already completed. Save cosmetic corrections for later, once you know the paints and labels are reliable.
Sort the paint by what you find
Open one pot at a time and keep its number visible. Inspect the contents before putting a brush into them. The aim is to decide which colors can be tested and which need resolving first.
| What you find | What to do next |
|---|---|
| Soft paint that stirs into an even mixture | Put a small amount on a spare test surface. |
| Thick or lumpy paint | Keep it separate and check the kit's paint guidance before altering the whole pot. |
| A completely solid lump | Do not count on water turning it back into usable acrylic. Set it aside as a color to resolve. |
| A missing, unreadable or uncertain label | Treat the identity as unknown, even if the wet color looks plausible. |
There is no useful universal rule that a kit left for a certain number of months is either good or ruined. GOLDEN discusses closure and storage in its article about its own acrylics; its shelf-life statements do not establish a lifespan for the paints in this kit.
Keep your sorting simple. A note beside each number saying “test,” “missing” or “identity unclear” is enough. You do not have to solve every pot before finding out whether one small part of the picture is ready to paint.
Make a small test away from the picture
Use spare primed canvas or paper intended for acrylic paint if you have it. Write the kit name and pot number beside the sample. Start with the paint as supplied rather than diluting the entire pot in anticipation of a problem.
Try a short brushstroke and a small filled shape. Check whether the paint leaves obvious lumps, whether you can control its edge and whether it spreads into a usable layer. Let the sample dry before comparing its appearance with an old painted area. A different test surface can absorb paint differently, so regard this as a check for obvious problems, not a perfect match test.
Also check your brush. If the point has split, try another brush from the kit before assuming the paint is responsible. The brush guide can help you choose a tip for the shape in front of you; buying a new set is optional.
Keep new strokes clear of any place your hand will rest. Acrylic can feel dry at the surface before it has dried throughout, as GOLDEN's drying notes explain. That distinction is useful when planning your hand position, but it does not supply a fixed drying time for these paint pots.
Resolve unknown colors before the important details
A nearly matching shade may be particularly noticeable in a face, a window or the boundary between light and shadow. If a number is missing, resist choosing by the pot's position in a loose row. Position and wet appearance are clues, not identification.
Instead, collect the design name, order reference if available, the uncertain pot and a clear photograph of the canvas. Mark the affected area on a separate photograph, not on the artwork. This makes the question specific: “Which color belongs in this region?” is easier to investigate than “My kit is mixed up.”
You can continue elsewhere if another area has a clearly readable number and a tested, correctly identified paint. Leave the uncertain region open until you have enough information.
Restart with one area and leave a useful note
Choose a region with a readable number, a boundary you can follow and a paint you have just tested. A modest shape away from the focal detail is a sensible place to get your hand moving again. You do not need to finish every remaining region in that color during the same session.
Before packing up, record what you actually did. A note such as “Pot 12 tested; lower-left path started; check pot 15 before the window” is a sample format, not a prescribed painting order. Use your own numbers and landmarks.
Close the pots and keep the note with the reference. The next session can begin with painting instead of another search through the box.
If a missing label, damaged patch or unusable color is blocking the restart, contact the team with your kit details and photographs to ask what options are available for your particular project.