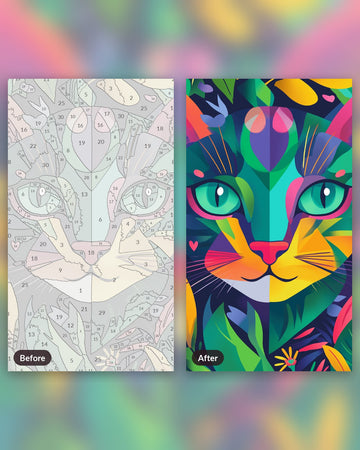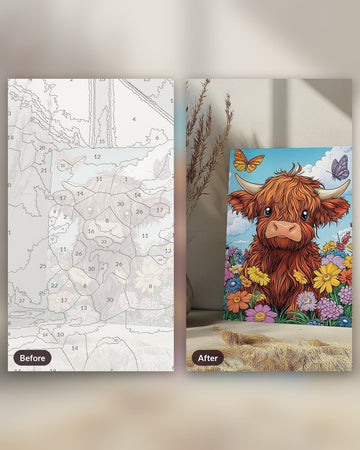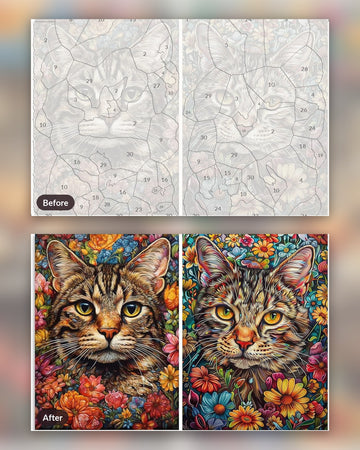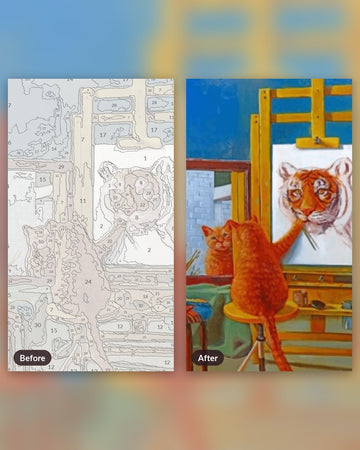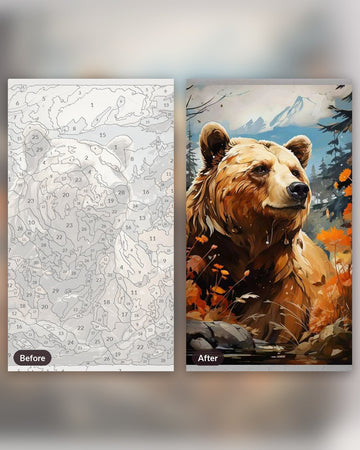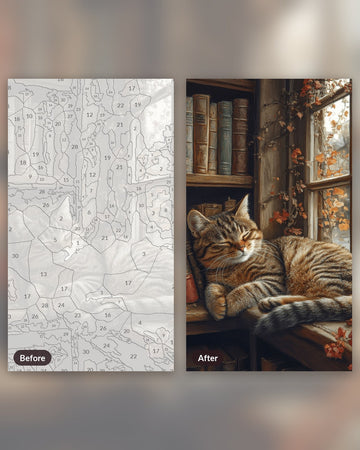
A DIY color by number is easier to start than to finish. The idea is simple: take a picture, cut it into numbered zones, give each number a colour. The finicky part is everything in between. This guide walks through the method step by step, says honestly where it gets slow, and then shows the ready-made routes for when you would rather spend the evening painting.
Quick picks
- Making your own on paper: pick a picture with big, plain shapes and stop at 8 to 12 colours.
- Want to paint tonight: Cat Sleeping in Closet or Quiet Dog, both tagged beginner.
- Want your own picture on canvas: a custom kit from your photo.
- Small zones are hard on the eyes: Painter's Extras adds liners and a magnifier.
Step 1: pick an image that survives simplifying
Every detail in the picture becomes a zone you will have to number and paint, so choose with that in mind. A single subject against a calm background works well. A pet, one flower, a barn under a big sky. Busy crowds, lace, fur close-ups and anything with soft focus will turn into hundreds of tiny shapes. If you are unsure, squint at the image: what you still see with half-closed eyes is what will survive.
Step 2: reduce it to flat areas of colour
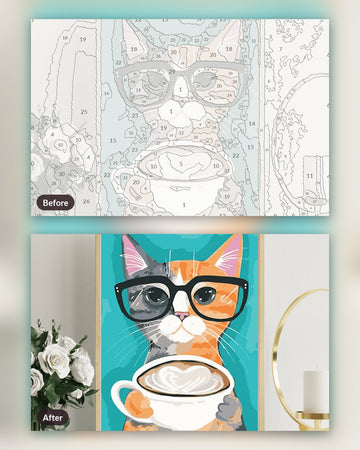
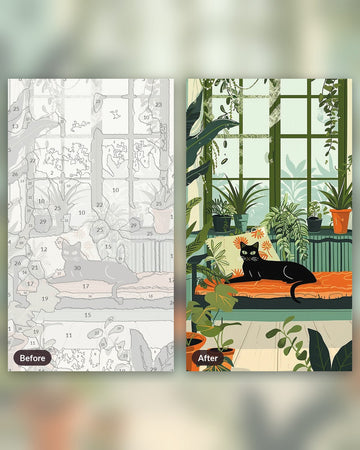
This is the heart of any DIY color by number. Trace the outlines of the big shapes on tracing paper laid over a print, or draw them straight onto the print. Ignore gradients. Where the sky fades from pale to deep blue, split it into three bands and treat each as one flat colour. Merge any zone smaller than a fingernail into its neighbour, because nobody enjoys painting a number that sits inside a space the size of a grain of rice.
Step 3: choose a palette and number the zones
List the colours you actually see, then cut the list down. Eight to twelve is a sensible first target. Write the numbers lightly in pencil, one per zone, keeping them small enough to cover with paint later. Then make a key on the side: number 1 is the pale sky, number 2 the deep sky, and so on. Mix your acrylics against the key and dab a swatch next to each entry so you can check them in daylight before touching the final sheet.
Step 4: transfer it to something you can paint on
Thin paper buckles under acrylic. Use heavy cardstock, a canvas panel or primed board, and rub the traced lines across with a soft pencil on the back of your drawing. Paint from light to dark, and the larger zones first. Expect to repaint some areas, because acrylic dries a shade darker than it looks wet.
Where the manual route gets slow
Doing this once is a pleasant project. Doing it for a 40 x 50 cm picture with 36 colours is a different job: you would number hundreds of zones, mix all those colours yourself and keep every batch consistent from one session to the next. An online generator can handle the zone-cutting part, and how the generator works explains what it does to your photo and where it makes mistakes. Our longer piece on making your own or ordering a custom kit compares the two routes side by side.
The ready-to-paint route for beginners
If you mostly want the painting, not the preparation, start with a kit where the zones are already large and the colour count low. These suit a first canvas:
- Cute Baby Fox and Little Cow: single animals with clear outlines.
- Tender Bond: Mother and Foal: two figures that sit well on a calm background.
- Little Girl and Rabbit and Dreamy Floral Unicorn: a gentler, more playful choice.
Sizes run 30 x 30 cm with 24 colours, 40 x 50 cm with 36 colours (the usual choice), and 50 x 65 cm with 48 colours. Each kit includes the numbered canvas, acrylic paints matched to it, brushes and a reference image. The frame is an option you put together yourself. More easy picks are in the beginner-friendly collection.
Your own picture, already numbered
When the subject matters more than the method, such as a pet, a house or a family photo, the custom paint by numbers kit does the simplifying and numbering for you. You upload one photo (at least 1500 px on the short side, 2500 px for the 50 x 65 cm size) and we turn it into a numbered canvas with the paints matched to it. That is the same process described above, minus the tracing paper.
A short checklist before you start
Print your image at the size you want to paint. Keep a pencil, an eraser and a jar of water close. Test every colour on scrap paper. Work in daylight when you can, since artificial light changes how blues and greens read. And stop at the number of colours you will still enjoy mixing on the fifth evening, not the first.