Paint every dark region of a galaxy kit first and let it cure for a couple of hours, wet-blend the colored clouds into each other before they dry, and dot the stars in last with the tip of the smallest brush. Most galaxy kits have 24 to 36 colors, and a 40x50 cm canvas takes 12 to 20 hours.
Galaxy kit in four steps
| Step | What to do | Why |
|---|---|---|
| 1. Darks | Block in every near-black section, then wait a couple of hours | Stars painted early get dragged into the dark paint |
| 2. Color clouds | Wet-blend neighboring sections while the paint is fresh | Dry edges give stripes instead of a glow |
| 3. Stars | Tip of the smallest brush, a few bright anchors and many pinpricks | Less is more |
| 4. Size | 40x50 cm or larger | On 30x40 cm the blend zones get cramped |
The first galaxy canvas I painted came out flat. Dead flat. All the right colors were there, the stars were dotted in, and still it looked like someone spilled navy paint on a page. The problem wasn't the kit. It was the order I painted in, and the fact that I let every section dry before touching the one next to it.
A galaxy is basically a lesson in blending disguised as a night sky. Get the transitions right and the thing glows. Rush them and you get stripes.
Want to paint this yourself?
Turn one of your own photos into a numbered canvas (from $19.95). We trace it, mix the paints to match, and ship the kit with brushes.
Or pick a ready-made design:
- Lost in a Galaxy Painting by Numbers Kit (from $19.95)
- Neon Galaxy Painting by Numbers Premium Kit (from $19.95)
- Deep Space Glow Painting by Numbers Premium Kit (from $19.95)
Start with the dark, all of it
Galaxy kits ship with a pile of colors that look the same in the pot. Deep indigo, blackberry purple, a blue so dark it reads as black. On a typical 40x50cm kit you're looking at 24 to 36 pots, and maybe a third of them are these near-blacks. Do not eyeball them. The numbers are the only reliable guide here, because your eyes will absolutely mix up pot 4 and pot 7 at 9pm under a warm lamp.
Block in every dark region first and let it cure for a couple hours. This gives you a solid stage to add light on top of later. If you go the other way, dropping stars in early, you'll end up dragging dark paint into them and losing the sparkle.
The wet-blend trick for the color clouds
The dusty bands of pink, teal, and violet running through a Milky Way are where cheap-looking galaxies get made or saved. The numbered sections give you the shapes. Your job is to soften the borders between them. Work two adjacent colors while both are still wet and feather the seam with a dry-ish brush, tiny back-and-forth strokes. A number 2 round brush is perfect for this; the fat brush in the kit is too clumsy.
If you've never blended before, it's worth reading up on smooth color blending in paint by numbers first, because the galaxy is going to ask a lot of that skill in one project.
Stars go on last, and less is more
Once the sky is fully dry, the white and pale-yellow stars go on top. Resist the urge to cover the canvas in dots. Real night skies cluster; they aren't evenly spread. I use the very tip of the smallest brush and vary the size, a few bright anchors and lots of pinpricks. For a little extra glow, dab a faint halo of pale blue around your brightest stars before the white goes down. That soft ring is what tricks the eye into reading light instead of paint.
Sizing and what to expect
Bigger is genuinely easier for galaxies. On a small 30x40cm canvas the blend zones get cramped and fiddly. A 40x50cm or larger gives your brush room to feather. Budget 12 to 20 hours total, and don't try to do it in one sitting; wet-blending is slower than filling flat shapes and your hand gets tired. If you like the scale, the space and galaxy collection has kits from pocket-sized to statement pieces.
One more thing about acrylics on dark canvases: the paint dries a shade or two darker than it looks wet, so your blends will deepen as they cure. Don't overcorrect while it's still glossy.
If you want a warm-up first
Galaxies aren't the hardest kits out there, but they aren't a true starter project either. If this is your first canvas, a beginner-friendly kit with larger, simpler sections builds the hand control you'll want here. And if you specifically love the swirling-sky look, the classic Van Gogh Starry Night kit teaches a lot of the same brushwork with a bit more structure to lean on.
Galaxy kits to paint next
- Brilliant Star Cloud: a spiral galaxy in blues and gold, with a bright core to practise the glow technique on.
- Moonlit Lake and Galaxy: the Milky Way over mountains, reflected in a still lake with a rowing boat.
- Galactic Reverie: a lone figure facing a swirling orange vortex of stars.
Browse the full range of galaxy and space kits.
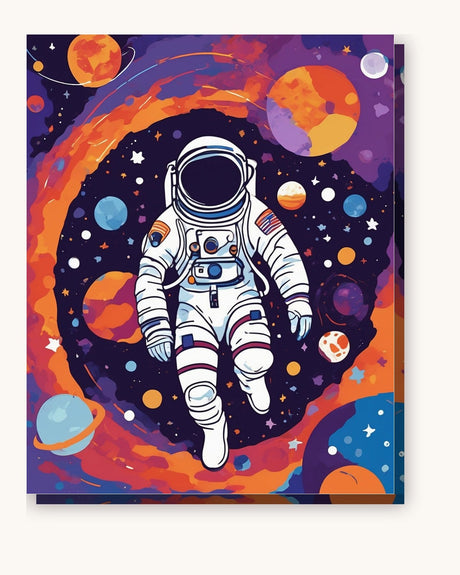
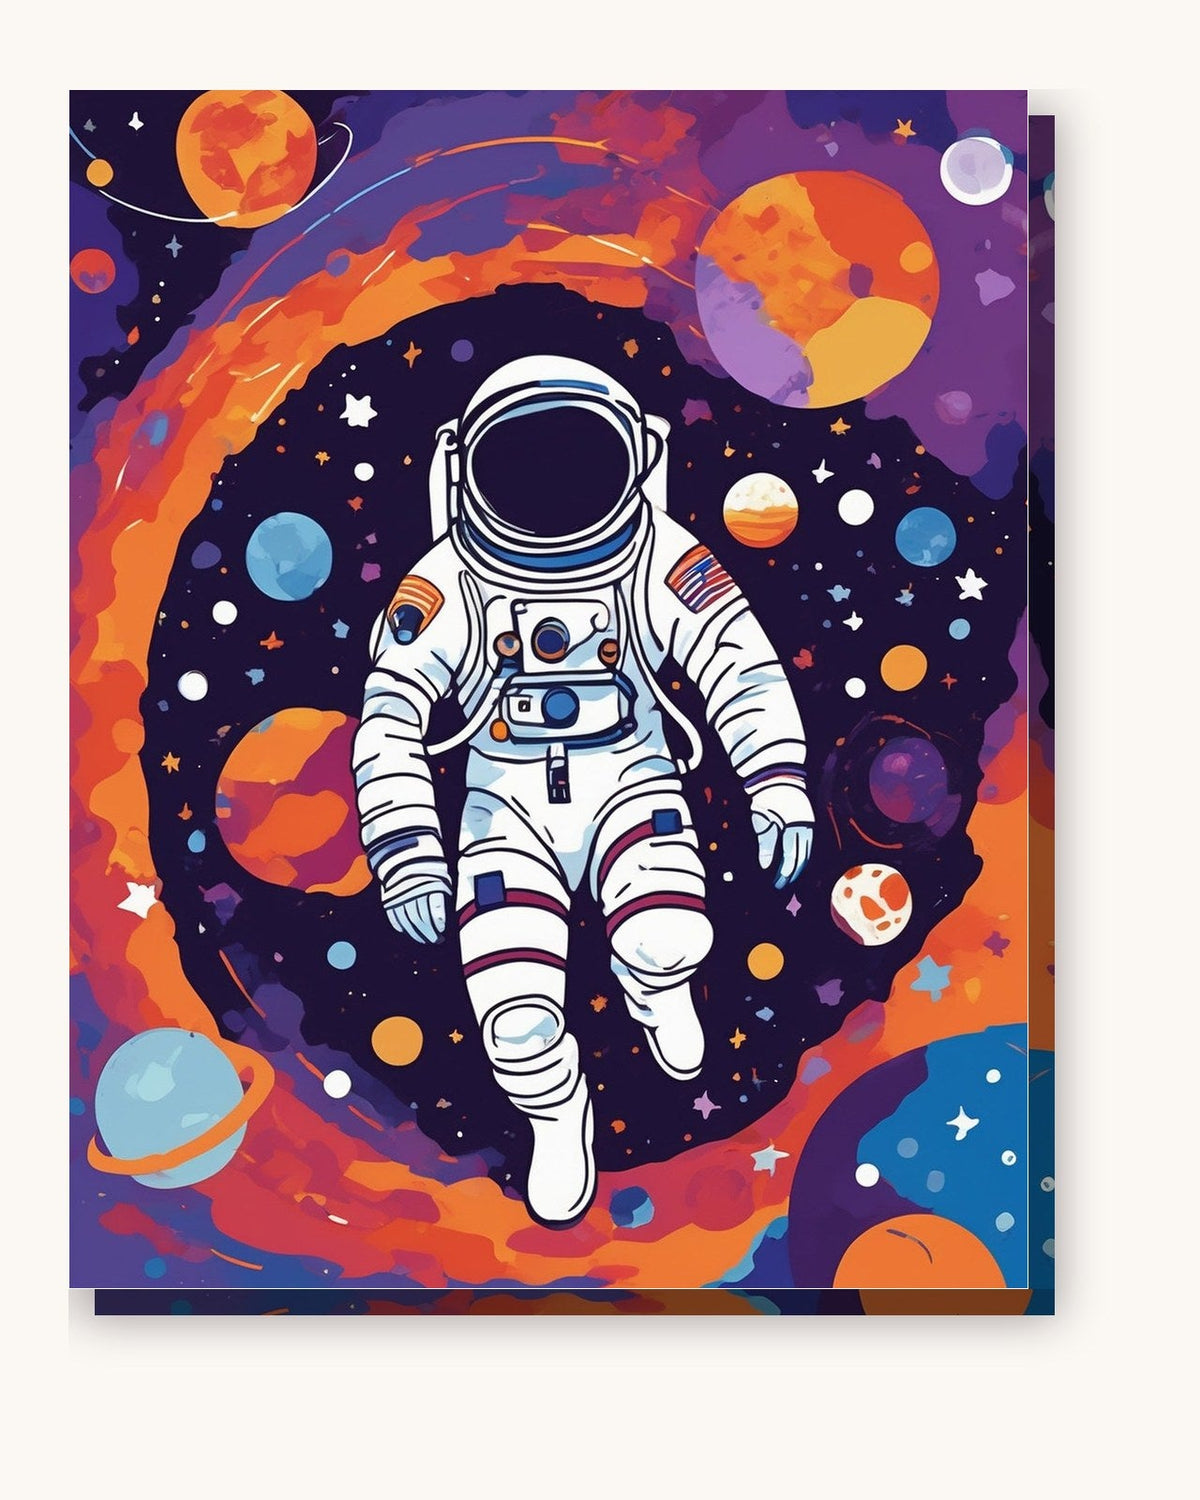
The Galaxy Swirl with Ringed Planets is the purest test of this, and the Astronaut Floating Through a Rainbow Nebula adds a figure for scale.
Frequently Asked Questions
How many colors does a galaxy paint by numbers kit usually have?
Most galaxy kits run 24 to 36 colors. A lot of those are dark blues, purples, and near-blacks that look almost identical in the pot, so keep the numbered chart nearby and don't trust your eyes on the lids.
Do I paint the dark background first or the stars first?
Background first, always. Lay down all the deep space color, let it dry, then add the light stars and glow on top. Painting stars first and trying to work dark around them leaves halos and smudges.
How long does a galaxy kit take to finish?
A 40x50cm galaxy canvas is usually 12 to 20 hours spread over a week or two. The blended sky sections eat the most time because you work while the paint is still wet.