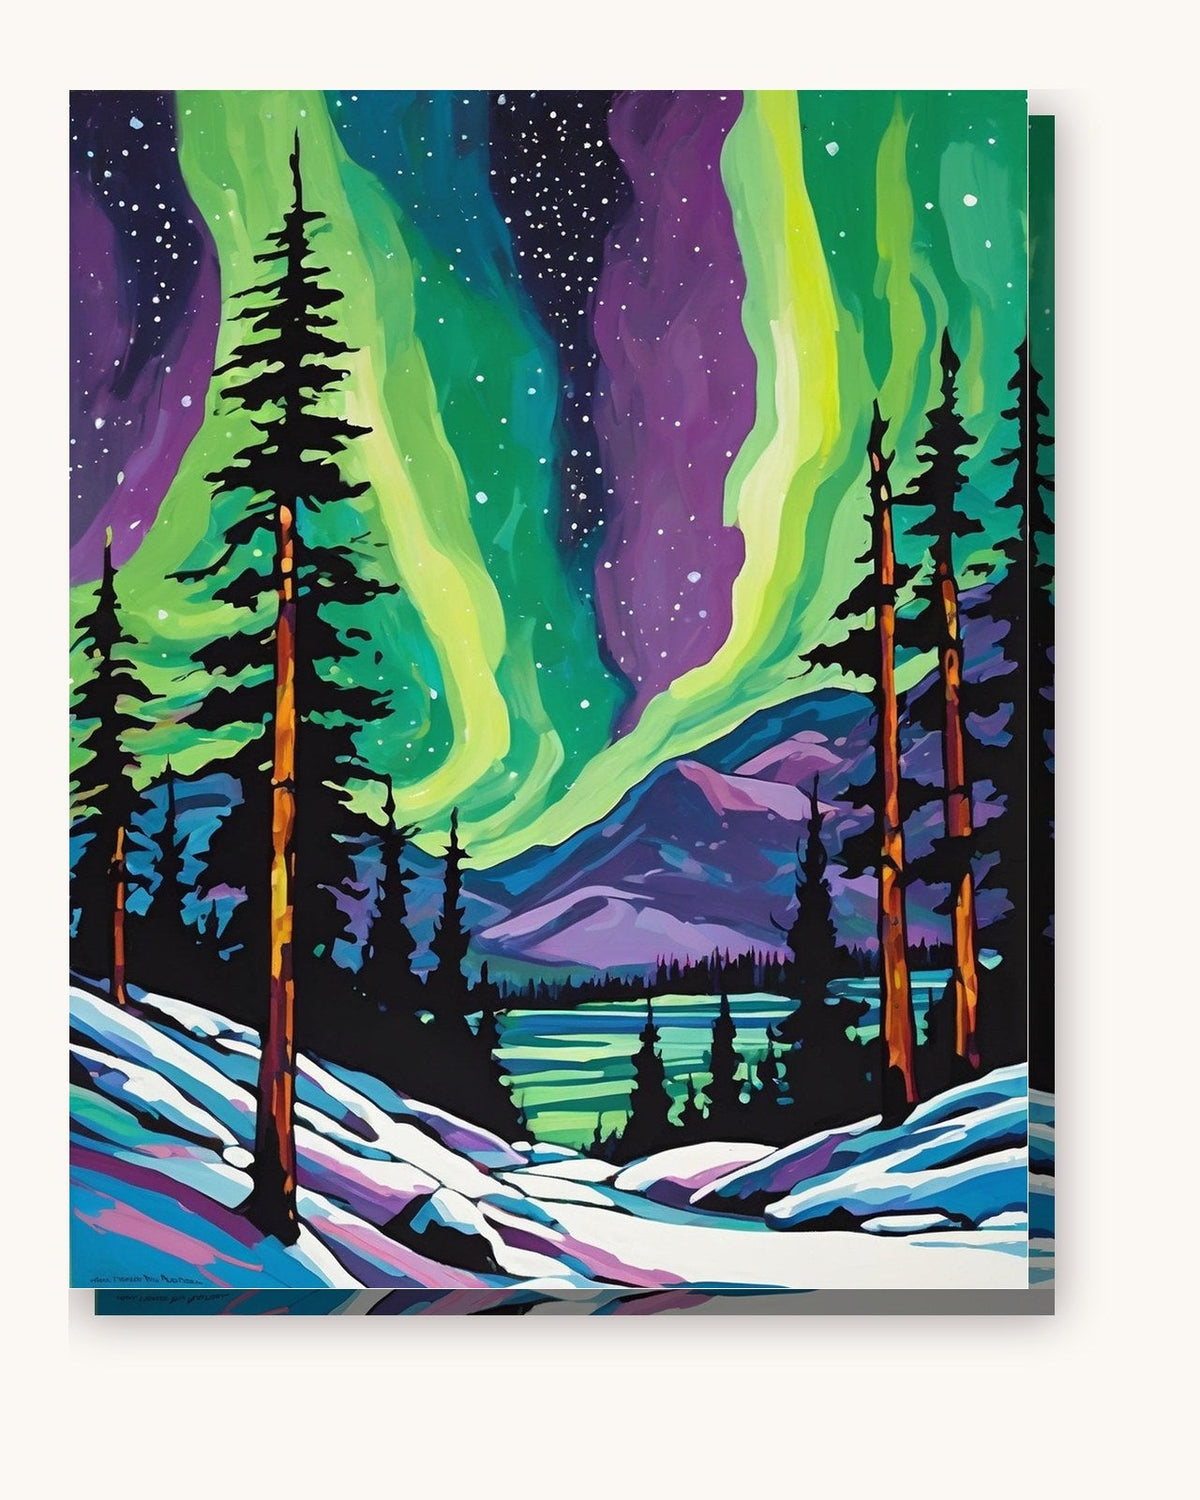
To make a northern lights painting look like it moves, paint the dark sky and foreground first, then blend each green ribbon upward with vertical strokes so its top edge fades into the dark with no visible line. A typical aurora canvas carries 24 to 32 colors and counts as an intermediate project.
Aurora kits fool people. From the box they look easy, big soft bands of green over a dark sky, no fussy detail. Then you paint one flat and it looks like a green fence. The light in a real aurora doesn't have a top. It just fades out into the dark, and painting that fade is the whole trick.
Read the ribbons before you start
A northern lights canvas usually carries 24 to 32 colors, heavy on greens and teals with purple and rose creeping in at the edges, plus a stack of dark blues for the sky. Before you touch a brush, look at where the light bands sit against the horizon, often a lake, a treeline, or snow. That foreground is your dark anchor. The sky at the very top is dark too. The light lives in the middle and has to melt into both ends.
Want to paint this yourself?
Turn one of your own photos into a numbered canvas (from $19.95). We trace it, mix the paints to match, and ship the kit with brushes.
Or pick a ready-made design:
- Aurora Reflections Painting by Numbers Kit (from $19.95)
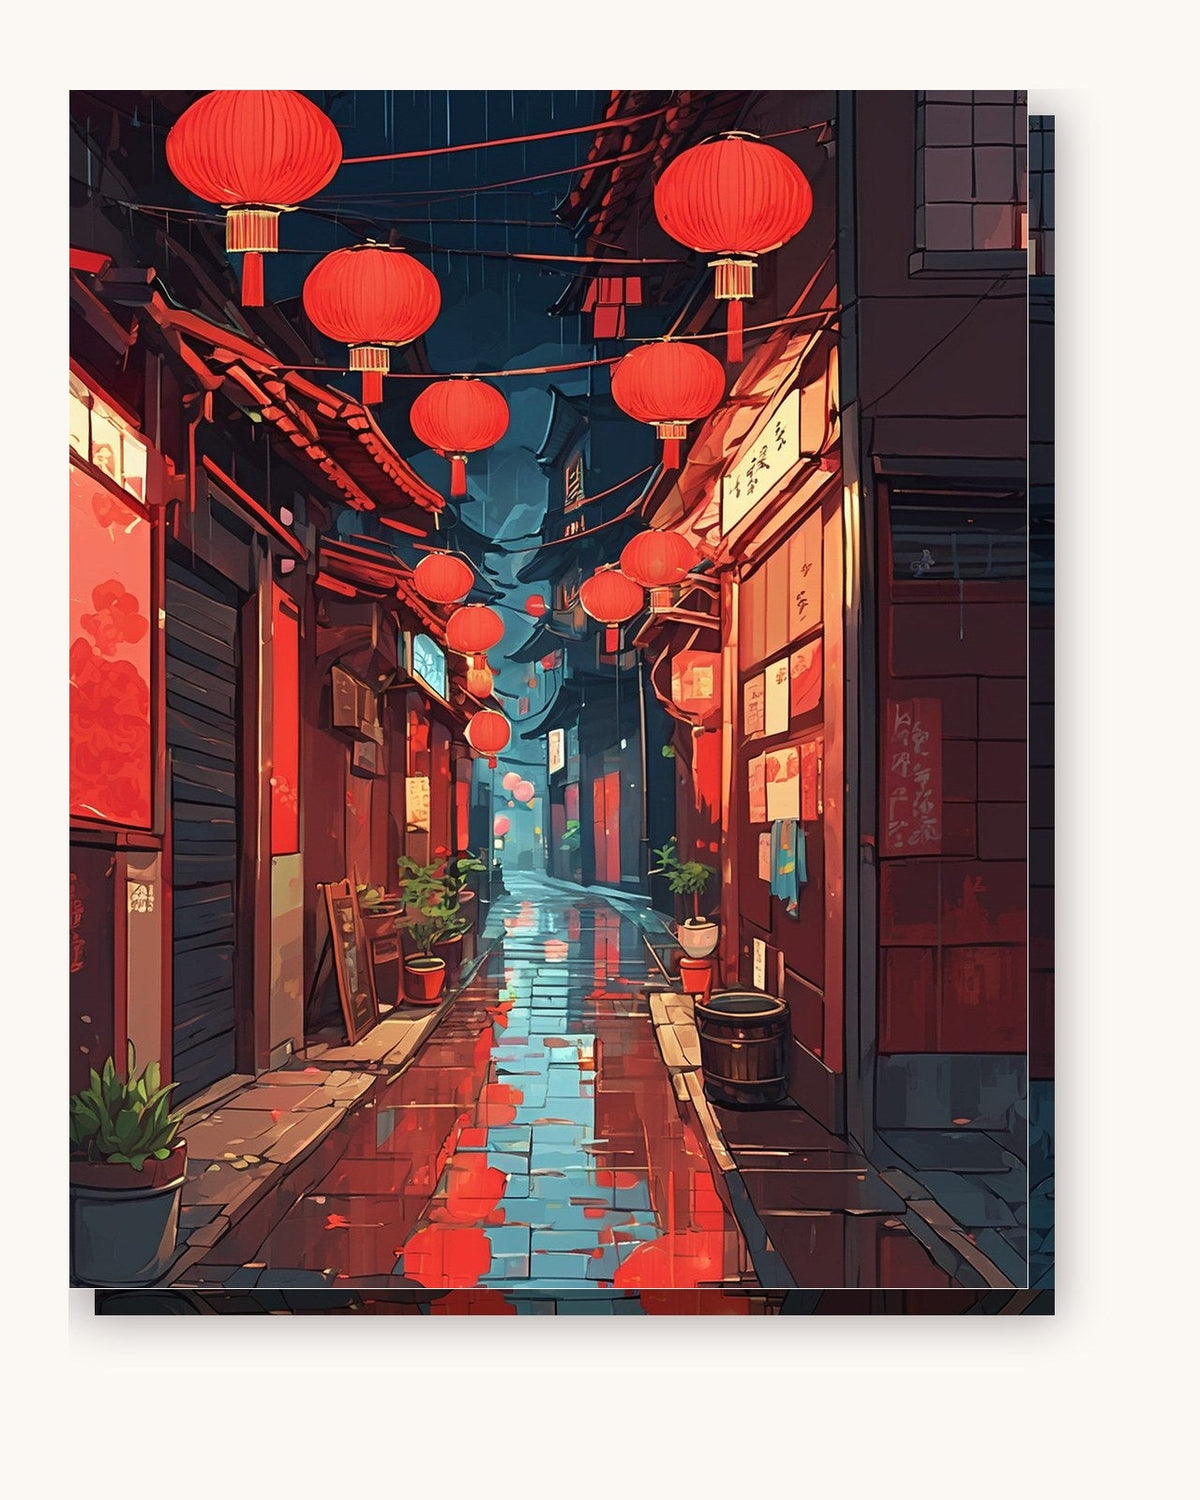
- Nocturne Bistro Lights - Paint by Numbers (from $19.95)
- Perpetual Look Painting by Numbers Premium Kit (from $19.95)
Blend up, not across
Here's the part the numbers won't tell you. Aurora ribbons are painted with vertical strokes, brushing upward, and they get lighter toward the base and fainter toward the top. Fill your green section, then take a small round brush with barely any paint and drag the top edge upward into the dark sky until it disappears. No line. That vanishing top edge is what sells the movement. Do the same where the green meets the purple at the sides, feathering while both are wet.
If blending is new to you, the guide to smooth blending covers the wet-on-wet feathering you'll lean on for every ribbon.
Reflections double your work and your payoff
Loads of aurora kits put a lake in the foreground with the lights mirrored in the water. Paint the reflection slightly darker and a touch more broken up than the sky above it, with a few horizontal streaks to suggest ripples. It takes an extra hour or two but a still lake catching green light is the money shot of the whole piece.
Order of operations
Dark sky and dark foreground first. Let them dry. Then the light ribbons, blended top and sides. Then reflections. Then any stars poking through the dark parts of the sky, added last with the tip of the smallest brush. Painting the sky dark first gives your greens something to fade into; there's a longer explanation of why in the piece on painting dark to light.
A few color mistakes to avoid
Two things go wrong with aurora greens. First, people paint them too uniformly bright, which flattens the ribbon. Let the base sit richer and the top go pale before it fades out. Second, the purples and pinks get overused; in a real aurora they're accents at the edges, not the main event, so keep them thin and let green dominate. If your kit gives you a slightly luminous green, save it for the brightest part of each ribbon rather than spreading it everywhere. And don't skip the darkest sky color at the very top of the canvas, because the ribbons need that depth above them to feel like they're glowing out of a real night.
Time, size, and skill level
Call it an intermediate project. There's no microscopic detail, so beginners can absolutely pull it off, but the vertical fades reward a steady hand. On a 40x50cm canvas plan for 10 to 16 hours. A larger size makes the fades easier because you have more room to graduate the color. If you love the snowy-foreground versions with a frozen lake, those pair beautifully with other landscape kits on a winter feature wall. Browse the space and sky collection for aurora and night-sky designs, and if it's your very first canvas, warm up on a beginner-friendly kit to get comfortable with the brush before you tackle those fades.
Northern lights kits to paint next
Aurora Reflections is the reflection piece: green ribbons over a still lake, so every stroke in the sky gets mirrored below. Good once you have done one blend you are happy with.
Northern Lights over the Pines puts a dark treeline in front of the sky. The pines are flat, dark areas, which gives you a break between the blended ribbons and keeps the aurora reading as light.
Polar Bears under the Northern Lights adds animals and snow to the scene. Paint the sky first, then the white fur and snow last so the cool tones do not get muddied by wet greens.
Two aurora canvases came in recently: the Pink and Green Aurora over the Lake and the Arctic Bear on the Aurora Ice.
Frequently Asked Questions
How do you make aurora ribbons look like they're moving?
Blend the green and purple bands vertically with soft upward strokes and fade the tops into the dark sky so they have no hard edge. The motion comes from that gradient at the top of each ribbon.
What colors are in a northern lights kit?
Expect mostly greens and teals with purples and pinks at the edges, plus dark blues and near-blacks for the night sky, roughly 24 to 32 pots on a standard canvas.
Is a northern lights kit good for beginners?
It's a great intermediate project. The ribbons are large and flowing so there's no tiny detail, but the vertical blending takes a little practice to get smooth.
More skies, seas and landscapes sit in the paint by numbers kits for adults collection.
Prefer a bigger canvas? Our large paint by numbers kits come on 50x65 cm and 60x60 cm canvases, with paints and brushes included.