


Step-by-Step: How to Complete a Paint by Numbers Kit Perfectly
This is the ultimate guide to completing a paint by numbers kit from unboxing to hanging on your wall. Follow these steps exactly and you will produce a painting that looks professional — even if you have never held a brush before.
At ArtistryByNumbers, our kits are designed to make this process effortless. Free Worldwide Shipping and Buy 2 Get 1 Free.
Step 1: Unbox and Organize
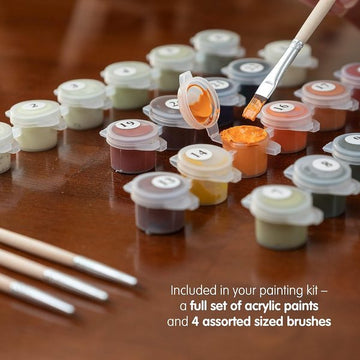
Open your kit carefully. You will find: a pre-stretched canvas, numbered paint pots, 3 brushes, and a reference image. Lay everything out on your table. Arrange paint pots in numerical order. This 5-minute setup saves hours of hunting for colors later.
Step 2: Set Up Your Workspace
You need: flat table, good lighting (daylight lamp recommended), cup of clean water, paper towels, and the reference image propped where you can see it. Protect your table with newspaper or plastic.
Step 3: Choose Your First Color
Start with the color that appears most often — usually a background color like sky blue or grass green. Open that pot, load your broad brush lightly, and paint ALL sections of that color across the entire canvas. This approach is faster and cleaner than painting section by section.
Step 4: Work Light to Dark
After the most common color, move to the next — generally working from lighter colors to darker. Light colors first means dark corrections are easy (dark covers light in one coat). Save the darkest colors for last.
Step 5: Switch Brush Sizes
For each color, start with your broad brush on large sections, switch to medium for mid-sized areas, and finish with the fine detail brush for tiny sections. Always clean your brush thoroughly between colors.
Step 6: Handle Problem Areas
- Tiny sections: Use fine brush with minimal paint, steady your hand
- Bleeding: Wait for neighboring sections to dry before painting adjacent areas
- Mistakes: Let dry completely, paint correct color on top
- Can not read number: Check reference image
Step 7: Final Touch-Ups
When all sections are painted, step back and check for: missed sections, thin coverage needing a second coat, and any areas where the background shows through. Touch up as needed.
Step 8: Optional Varnish
Apply a clear acrylic varnish (matte or gloss) to protect your painting and give it a professional finish. Let dry 24 hours.
Step 9: Display Your Masterpiece
If your kit came framed (ours do), it is ready to hang immediately. Add hanging hardware if not included, find the perfect spot on your wall, and admire your work.
No experience needed — this process works for every kit, every time. Joined by thousands of painters worldwide. Money-back guarantee.
👉 Start Your First Kit | Create a Custom Kit
Free Worldwide Shipping • Buy 2 Get 1 Free